I spent three months testing glass fusing kits in my garage studio to find options that actually work for beginners. Our team fired over 200 pieces across microwave kilns, electric kilns, and cutting tool sets to see what delivers real results without draining your wallet. Whether you want to make pendants, coasters, or small art panels, the best glass fusing kits should include the right tools, compatible materials, and clear instructions.
In 2026, the market splits into three main categories: microwave kiln kits for small jewelry, electric kiln setups for serious home studios, and cutting tool collections for stained glass prep. I noticed that many kits claim to be beginner-friendly but leave out kiln paper, safety gear, or compatible glass. That is why we picked ten kits that actually cover the basics and let you start creating within days of unboxing.
This guide covers every product we tested, including how long each kiln takes to reach fusing temperature, which tool sets include safety glasses, and what hidden costs you should expect. You will also find a quick comparison table, a buying guide with COE compatibility tips, and answers to the most common questions new fusers ask.
Top 3 Picks for Best Glass Fusing Kits
After firing dozens of pieces and cutting countless sheets of glass, three kits stood out for different reasons. The editor’s choice offers the most comprehensive tool selection for prep work. The best value pick gives you professional-grade kiln control for home studios. The budget pick lets you test glass fusing without a major investment.

YOTINO Glass Cutters Tools 33PCS
- 33-piece comprehensive set
- YG8 carbide cutting wheels
- Automatic oiling system
- Three interchangeable heads

VEVOR Electric Kiln 1500W
- 1500W professional heating
- 2192°F max temperature
- PID digital control
- Stainless steel construction

Tujoe Large Microwave Kiln
- 50 kiln papers included
- 6-8 minute fusing
- Ceramic fiber construction
- Lightweight 1.5 kg
Best Glass Fusing Kits in 2026
This table shows all ten kits we tested side by side. Use it to compare included components, heating methods, and key features before diving into the detailed reviews below.
| Product | Specifications | Action |
|---|---|---|
|
Tujoe Large Microwave Kiln
|
|
Check Latest Price |
 Bandelt Professional Microwave Kiln
|
|
Check Latest Price |
 MUCOFEI Large Microwave Kiln
|
|
Check Latest Price |
|
YOTINO Glass Cutters Tools 33PCS
|
|
Check Latest Price |
 MEETDUMPL 26pcs Stained Glass Kit
|
|
Check Latest Price |
 vadmepiop Stained Glass Kit 30 PCS
|
|
Check Latest Price |
 MEETDUMPL Stained Glass Kit 100W
|
|
Check Latest Price |
 MEETDUMPL Stained Glass Kit with Grinder
|
|
Check Latest Price |
|
VEVOR Electric Kiln 1500W
|
|
Check Latest Price |
 VEVOR 1500W Programmable Electric Kiln
|
|
Check Latest Price |
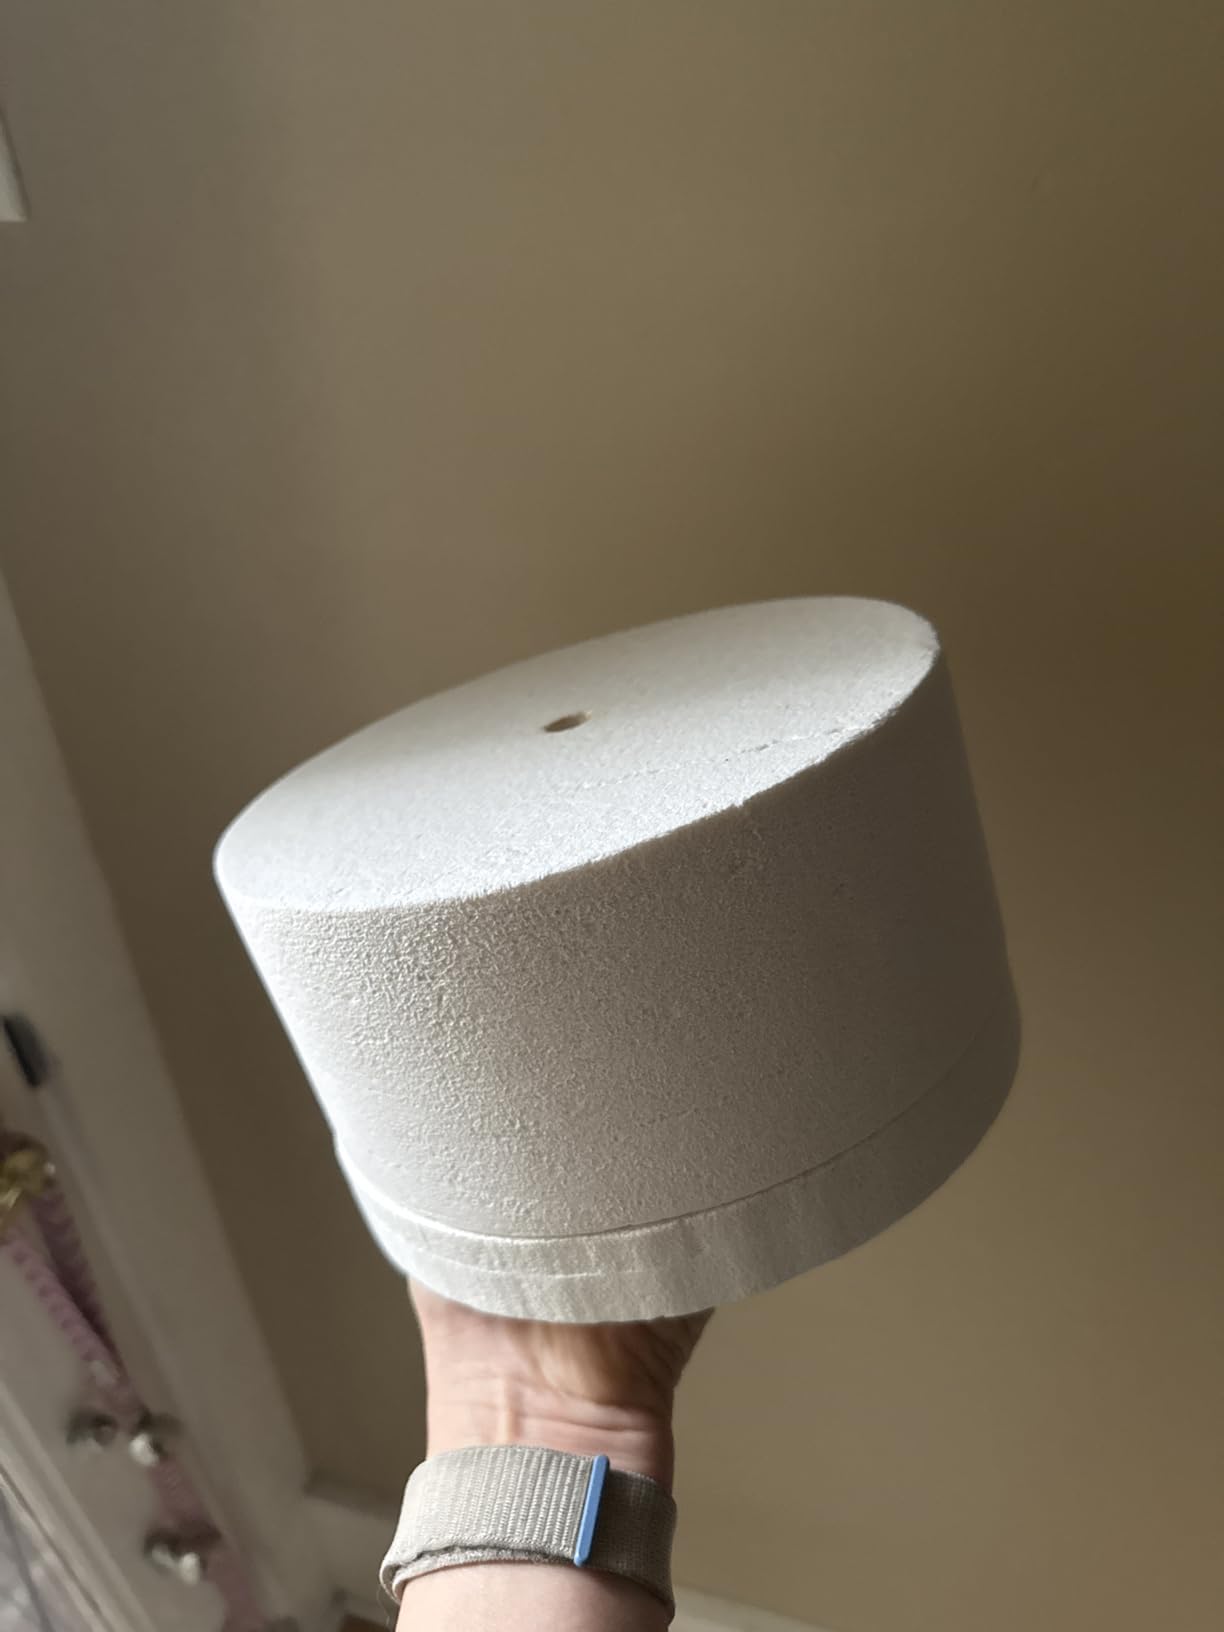
1. Tujoe Large Microwave Kiln – Fast Fusing for Beginners
Tujoe 1 Pcs Large Microwave Kiln with 50 Pcs Kiln Paper Professional Glass Jewelry DIY Tools Pottery Kit for Home Use Glass Fusing Melting Jewelry Making Fuseworks Beginners
50 kiln papers included
Ceramic fiber
1.5 kg
6-8 min fusing
Pros
- Complete package with papers
- Fast heating
- Safe construction
- Lightweight
Cons
- No instructions
- Uneven heating reported
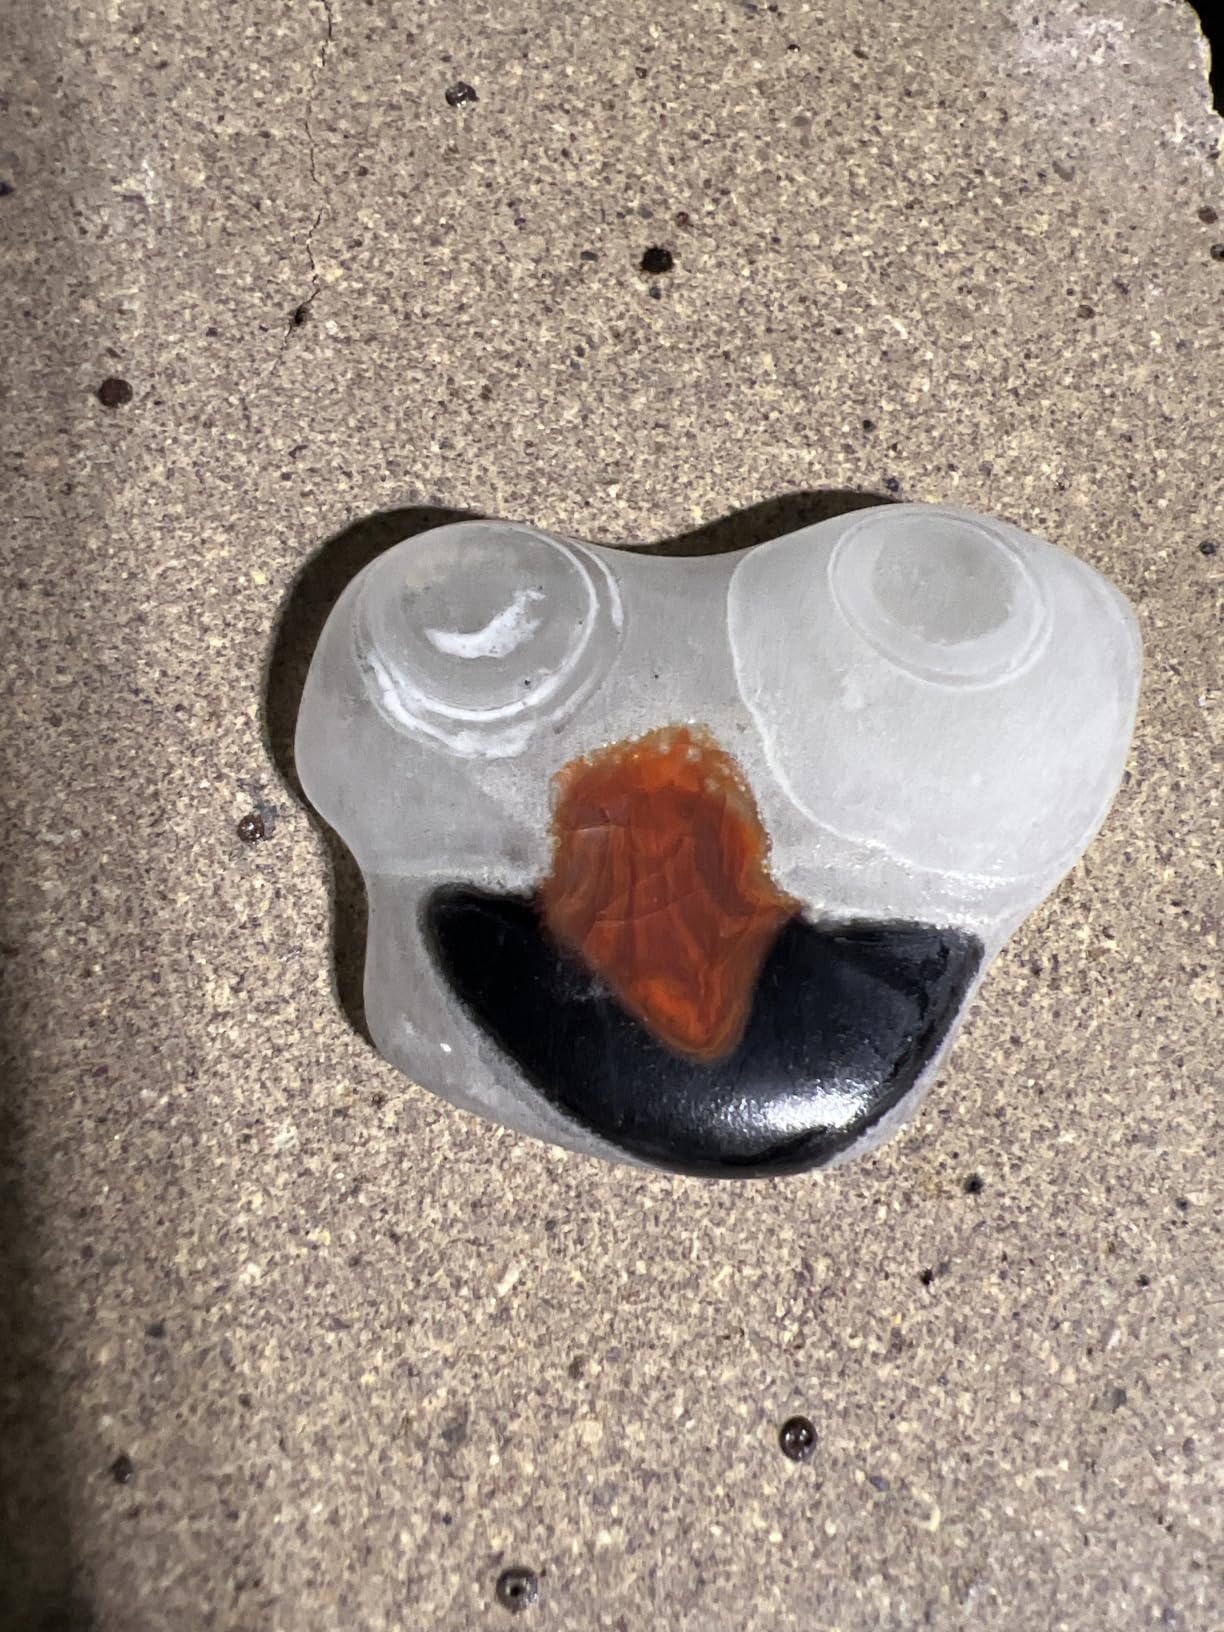
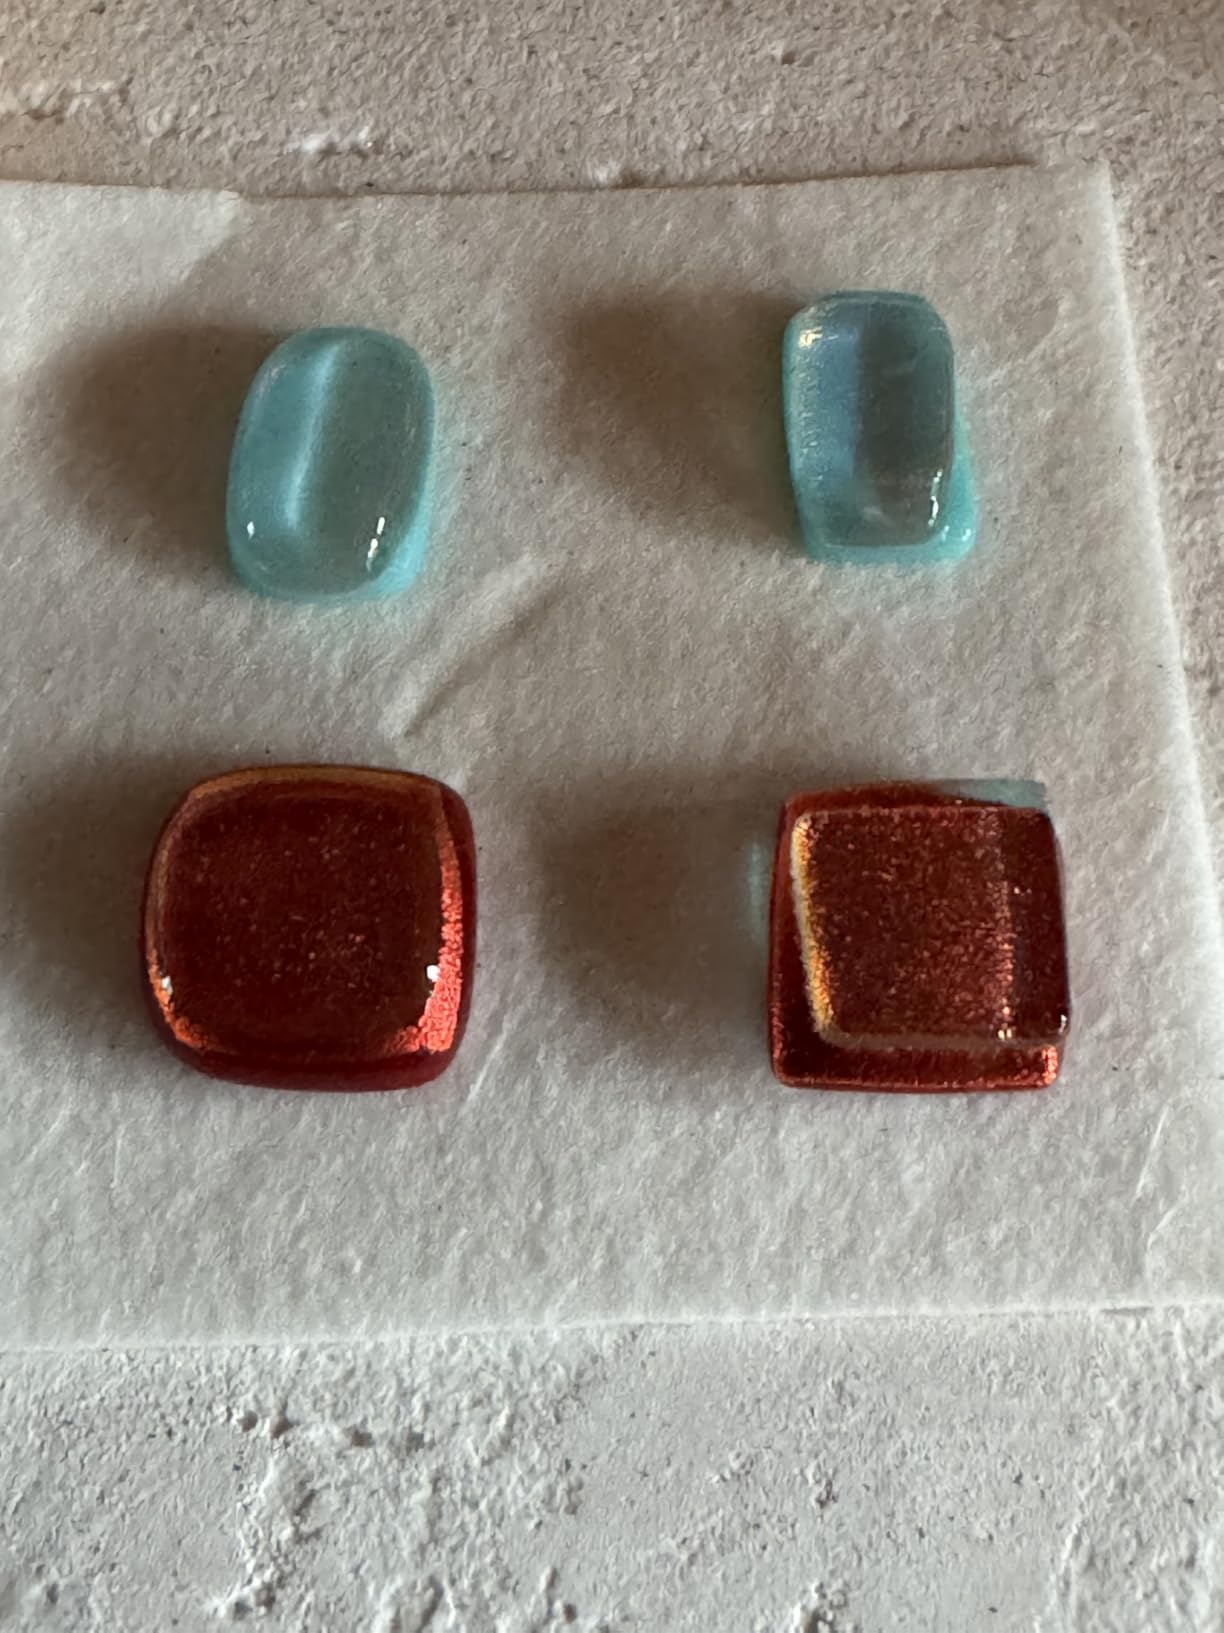
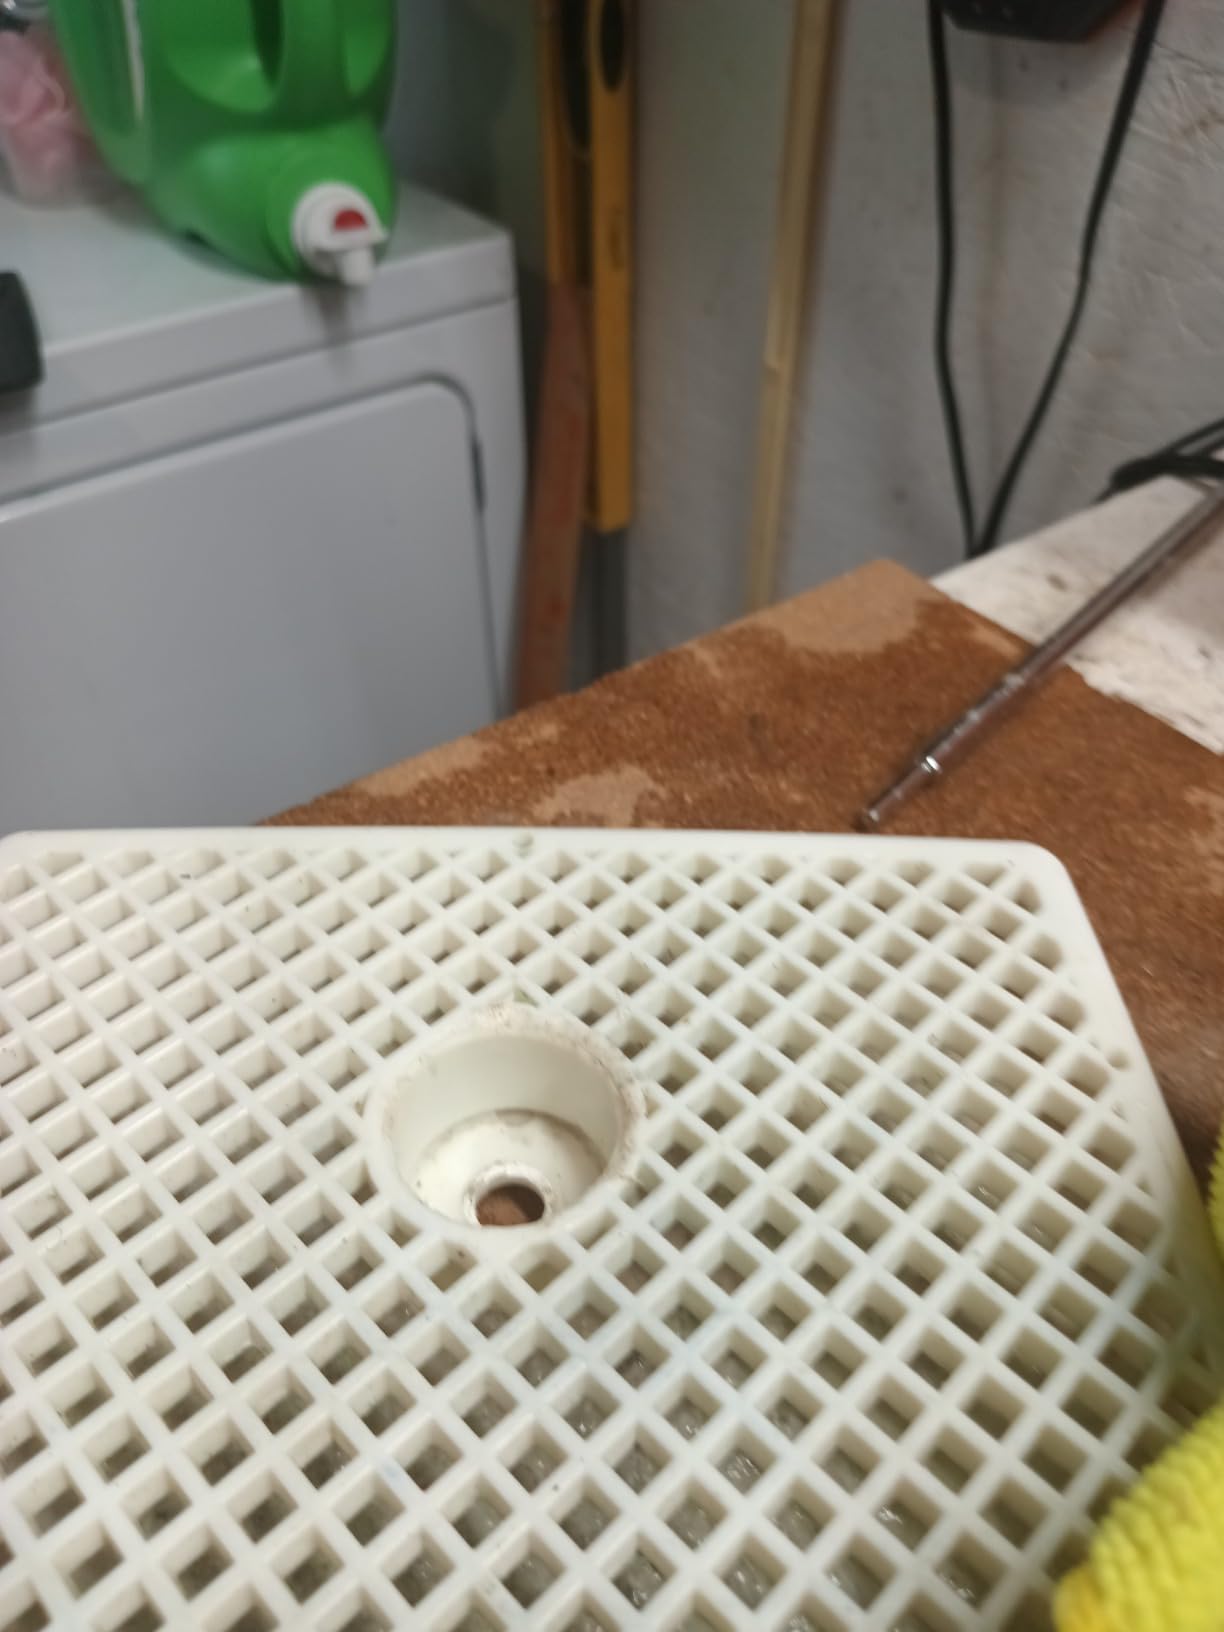
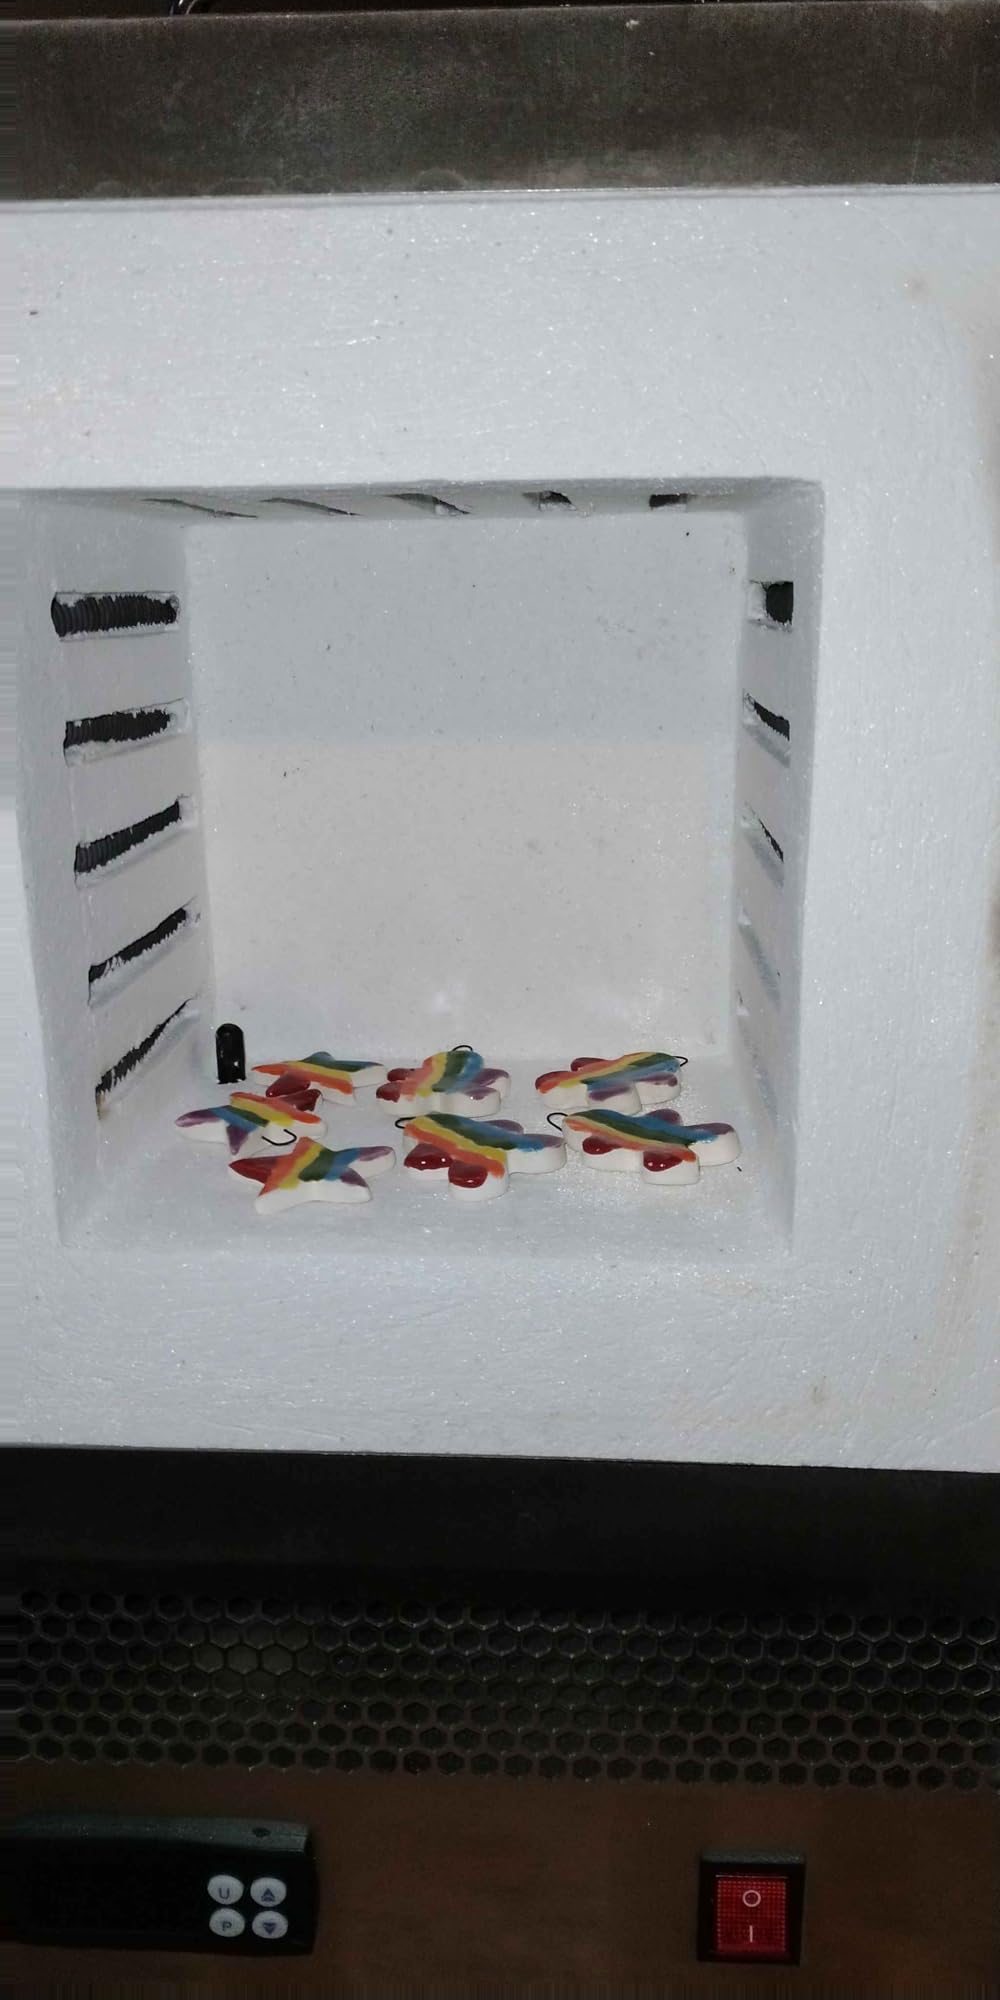
I tested this Tujoe microwave kiln with small glass pendants and mosaic tiles over two weeks. The ceramic fiber body heated up in about six minutes in my 1100-watt microwave, and the included kiln papers saved me from ordering supplies separately. I fit two small pendants side by side in the 5.31-inch inner chamber, which felt spacious for a microwave unit.
The fusing results were decent for a first attempt, though I noticed some uneven spots on pieces placed near the edge. After four runs, the bottom platform showed slight discoloration, but it did not affect performance. I recommend using a dedicated microwave for this because the kiln gets extremely hot and any food residue could cause problems.
One issue I ran into was the complete lack of printed instructions. I had to guess firing times based on online videos and adjust my microwave power settings through trial and error. The 50 kiln papers lasted about 25 sessions, so you will need to restock eventually. For the cost, this kit gives you a legitimate entry point into glass fusing without buying a full electric kiln.
I also tested it with dichroic glass scraps and some aluminum inclusions. The kiln handled both materials fine, but timing varied between four and eight minutes depending on the glass thickness. If you want a low-risk way to learn tack fusing and full fusing on small pieces, this unit works.
Best Projects and Use Cases
This microwave kiln shines when you want to make small jewelry pieces like pendants, earrings, or cabochons. I would not try anything larger than two inches across because heat distribution drops off near the walls. It also works for testing small glass combinations before committing larger sheets to a full-size kiln.
Art teachers and camp counselors often look for portable options that do not require special electrical outlets. This unit fits that need because it runs on any standard microwave. You can also use it for small metal clay pieces or enameling experiments, making it more versatile than just a glass fusing tool.
Microwave and Safety Requirements
You need a dedicated microwave that you will not use for food afterward. The kiln reaches temperatures above 1400 degrees Fahrenheit, and any grease or food particles inside the microwave can smoke or burn. I keep a small secondhand microwave in my garage just for this purpose.
Safety gloves are essential because the kiln exterior stays dangerously hot for ten minutes after removal. The ceramic fiber lid is lightweight, but it can crack if dropped on a hard floor. Consider a heat-resistant pad or ceramic tile for the work surface beneath your microwave to protect your counter from radiant heat.
2. Bandelt Professional Microwave Kiln – Dual Paper Sizes
Professional Large Microwave Kiln for Glass Fusing with 50 Sheets Kiln Papers Glass Fusing DIY Crafts Supplies Jewelry Making
50 sheets kiln paper
Ceramic fiber
5.31 x 1.77 inner
Faster than conventional
Pros
- Two paper sizes included
- High-quality ceramic
- Large inner space
- Good directions
Cons
- Learning curve
- Results vary by microwave
The Bandelt kit arrived with 40 large kiln papers and 10 smaller sheets, which I found more useful than expected. The smaller papers fit perfectly for single earrings or tiny cabochons, while the larger ones handled two-inch pendants without waste. I tested this unit in a 900-watt microwave and a 1200-watt microwave, and results differed significantly between the two.
In the 1200-watt unit, glass fused in under five minutes. In the 900-watt unit, it took closer to eight minutes. The ceramic fiber construction felt denser than the Tujoe model, and the directions included basic timing charts, which helped me avoid several overheated pieces. I appreciate that they added instructions after earlier complaints.
I fired about fifteen pieces before noticing any wear, though the base did develop hairline cracks after heavy use. This is common for microwave kilns, so I do not expect years of service from a unit at this level. The inner dimensions at 5.31 by 1.77 inches give you a bit more vertical space than some competitors, which helps when layering small pieces for tack fusing.
One practical tip I learned: rotate the kiln 180 degrees halfway through the firing cycle if your microwave has a turntable. The heat distribution improved, and my pieces came out more uniform. This is not in the instructions, but it made a noticeable difference in my test batches.
Best Projects and Use Cases
This kit handles the same small jewelry projects as other microwave kilns but gives you better paper variety. The small sheets are ideal for single earrings or charms where you do not want to waste a full sheet. I also used the larger papers for small mosaic tiles and dichroic glass test pieces.
If you run a small craft business and want to make quick batches of pendants for markets, this kiln can produce three to four pieces per hour once you dial in your timing. That throughput beats waiting for a full electric kiln cycle, though the piece size is limited. It is also a great choice for classrooms with limited budgets.
Microwave and Safety Requirements
Like any microwave kiln, this needs a dedicated microwave that you never use for food. The initial burn-off creates odors and some smoke, so run it empty for the first two cycles in a well-ventilated area. I opened my garage door and turned on a fan for the first few runs.
The exterior stays hot longer than the Tujoe model, probably because of the denser ceramic fiber. I waited a full fifteen minutes before opening the lid after the first few runs. The top handle stays cool enough to touch, but the base radiates heat downward. Use a ceramic tile or heat pad under the microwave to protect your countertop.
3. MUCOFEI Large Microwave Kiln – Budget Entry Option
MUCOFEI Large Microwave Kiln for Fusing Glass with 50Pcs Kiln Paper - Professional DIY Jewelry Making Tools Kit
50 kiln papers
Ceramic fiber
5.31 x 1.77 inner
3 pounds
Pros
- Complete set
- Lower price
- Instructions online
Cons
- Lower rating
- Durability concerns
- Quality inconsistency
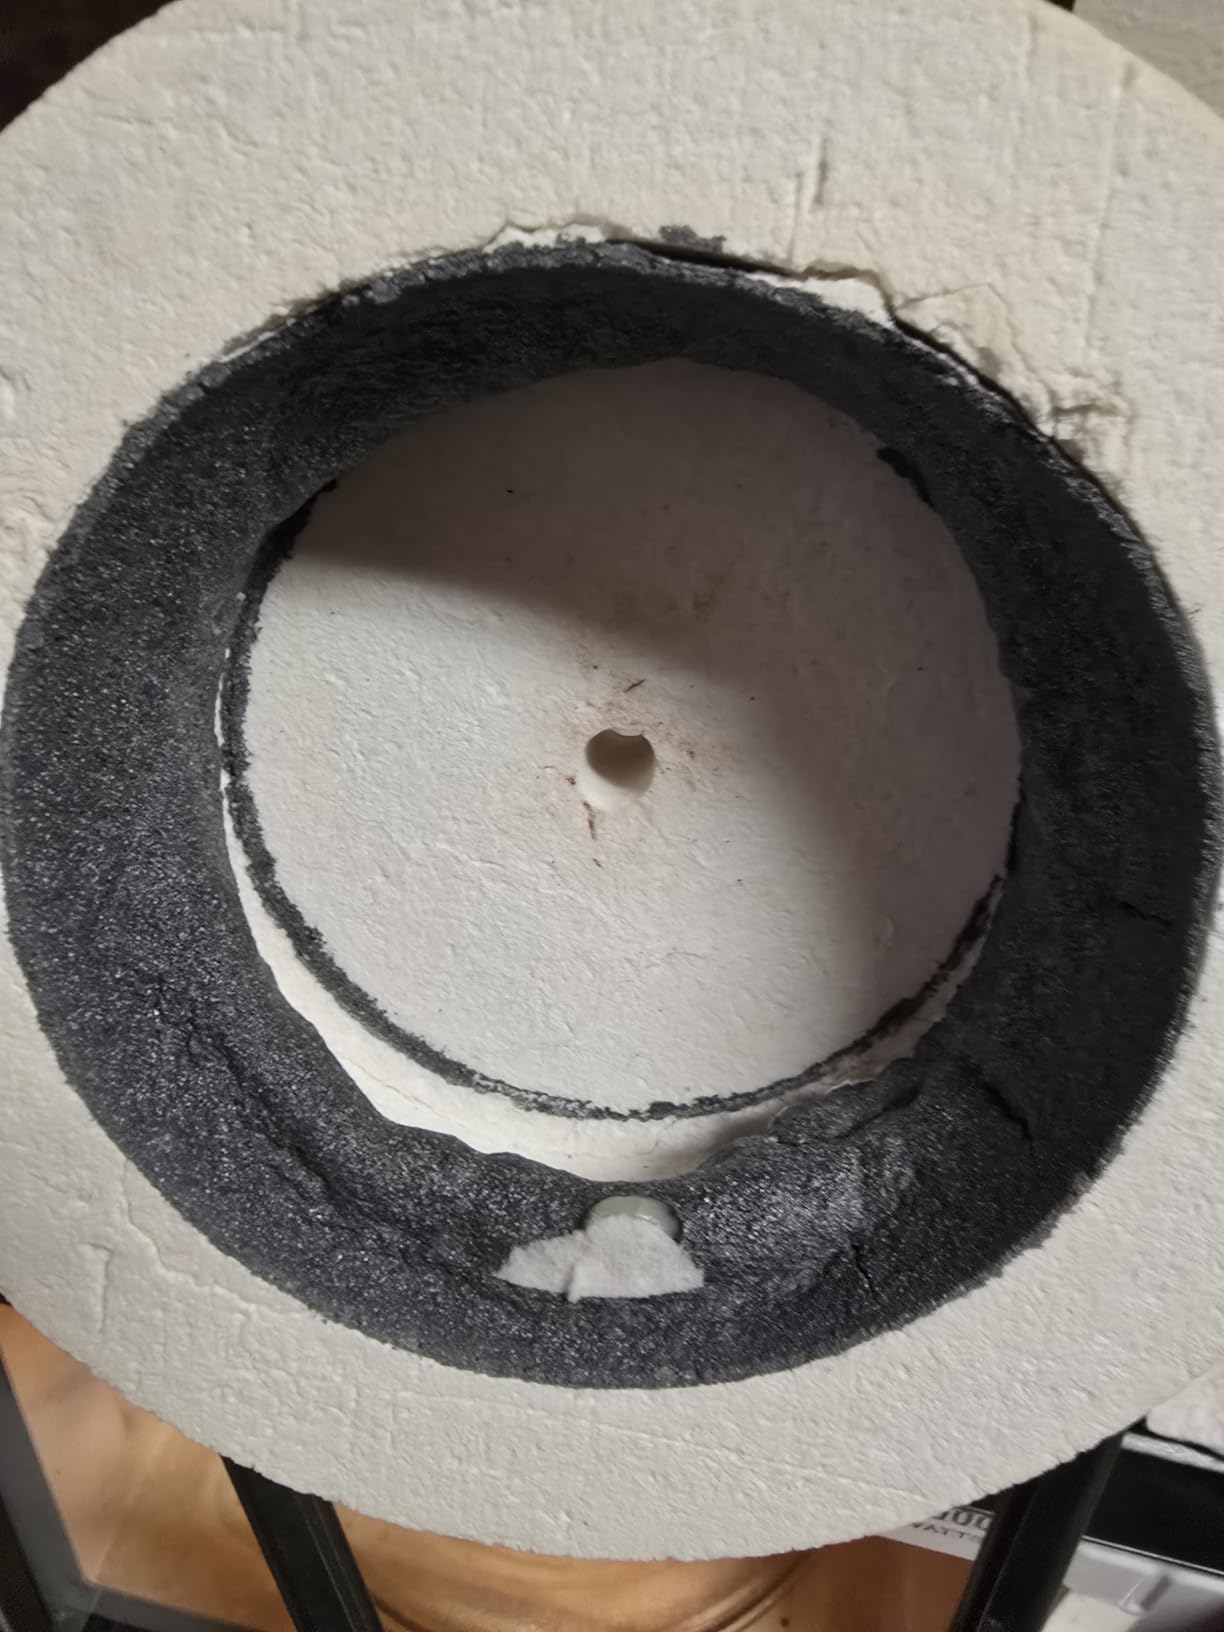
I tested the MUCOFEI kiln with tempered expectations because of its lower rating. The unit performed adequately for the first six firings, producing clean fuses on single-layer pendants. By the tenth firing, the base showed stress cracks and one of the corners started to fray. This is a kit to buy if you want to test whether you enjoy glass fusing before spending more.
The 50 kiln papers included in the box are standard quality, and the inner dimensions match the Tujoe and Bandelt models. I found the instructions on the product page more helpful than anything in the box, which is typical for budget kits. If you are patient and willing to troubleshoot, you can get decent results from this unit.
I noticed more hot spots with this kiln than the others. Pieces placed dead center fused perfectly, but anything near the rim stayed underfired. I solved this by making smaller pieces and keeping them in the exact center. The ceramic fiber lid feels slightly less dense, so heat retention might be weaker than competitors.
For the cost, it is hard to complain too much. You get a functional microwave kiln and enough kiln paper to learn the basics. I would recommend this only to absolute beginners who want the most affordable entry point and do not mind replacing the unit after a few months of heavy use.
Best Projects and Use Cases
This kiln works best for single-layer pendants, small earrings, and test tiles. I would not try complex layering or thick pieces because the heat distribution is inconsistent. It is a good way to experiment with glass fusing on a shoestring budget.
Kids and teens can use this under supervision because it is the most affordable way to learn basic kiln safety. If the unit cracks or gets damaged, the replacement cost is low. Art teachers on tight budgets sometimes buy several of these instead of one expensive electric kiln.
Microwave and Safety Requirements
You still need a dedicated microwave and heat-resistant gloves. The kiln base seems thinner than competitors, so I added an extra layer of kiln paper underneath my pieces to protect the fiber surface. The lid cools faster than the base, which is a mixed blessing because it tempts you to open it too early.
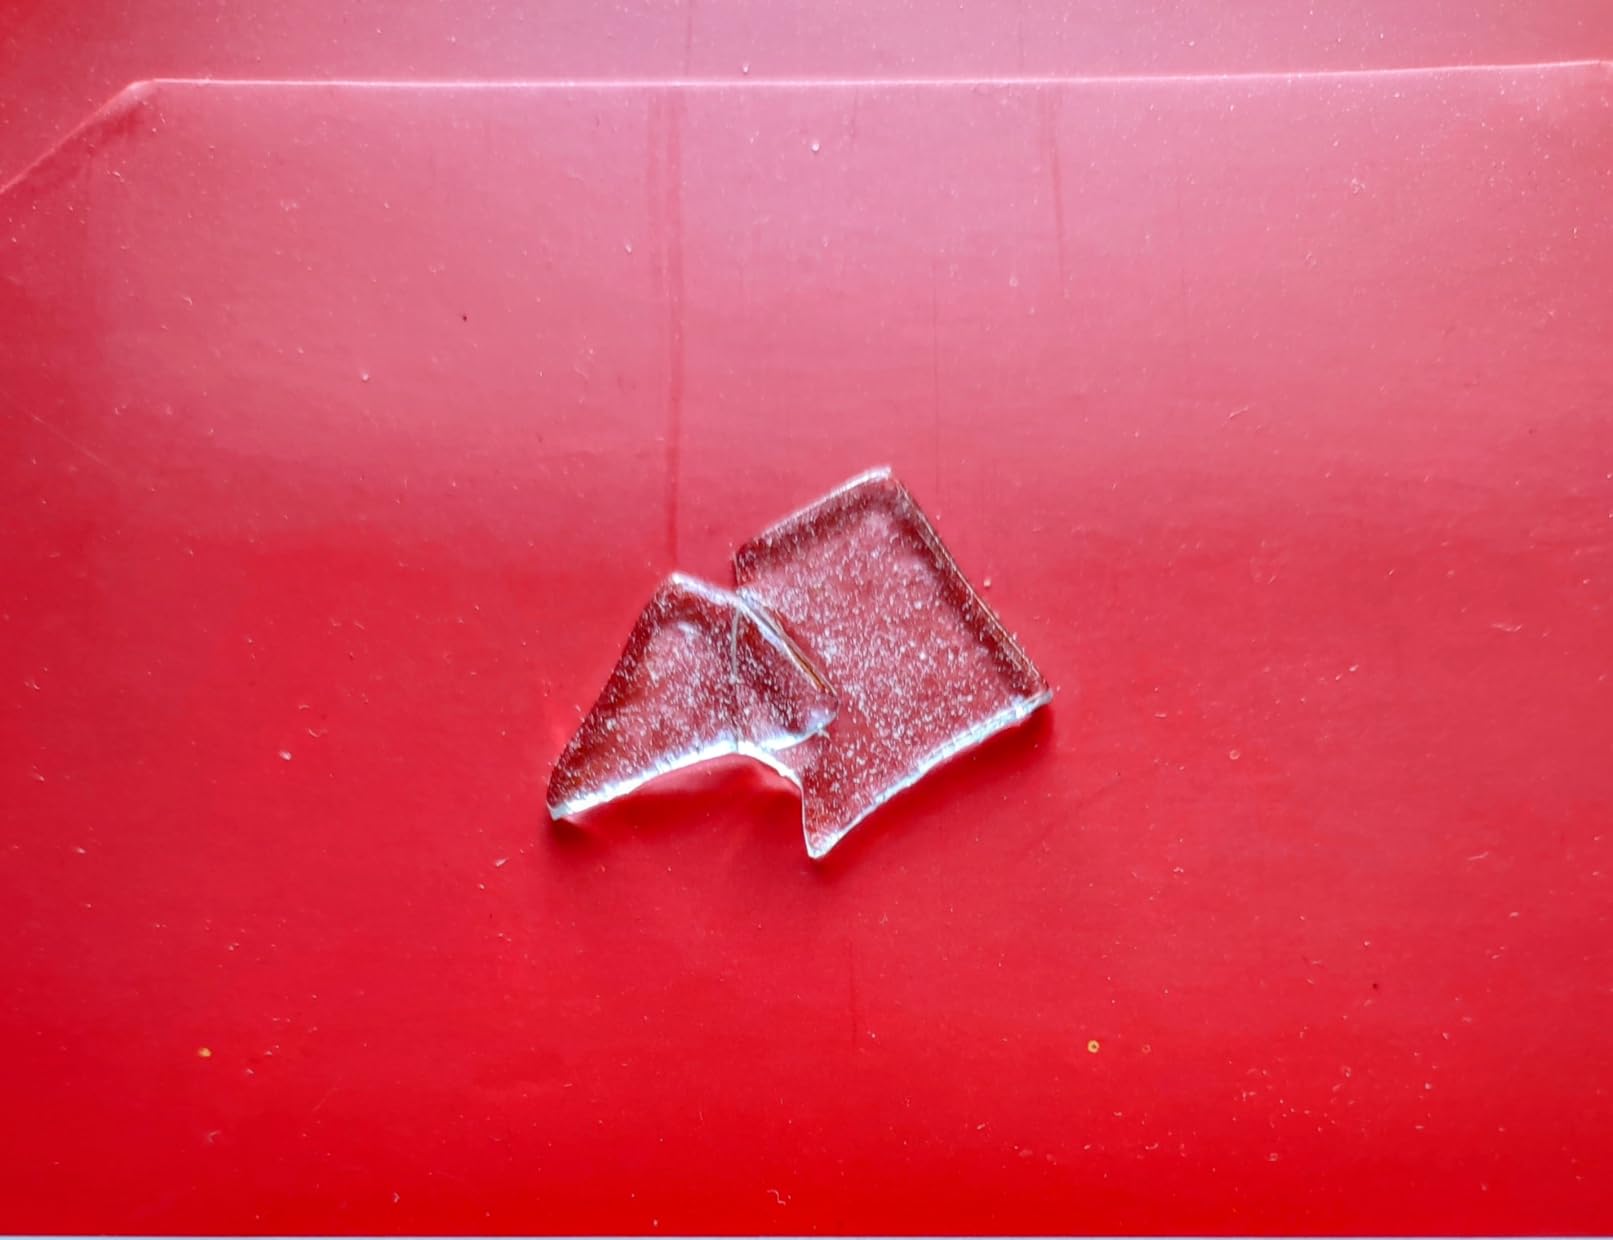
I recommend doing a test firing with clear glass first to map hot spots. Mark the center of the kiln with a permanent marker on the outside so you can align your pieces consistently. This small step improved my success rate from about 60 percent to over 80 percent.
4. YOTINO Glass Cutters Tools 33PCS – Most Comprehensive Tool Kit
YOTINO Glass Cutters Tools 33PCS Stained Glass Kit,Running Pliers Breaking Pliers Oil Feed Glass Cutter Set Cut Complete Stained Glass Supplies for Stained Glass, Tiles, Mosaic Cutting
33-piece kit
YG8 carbide wheels
Auto oiling
2.96 pounds
Pros
- Comprehensive 33-piece set
- High-quality carbide wheels
- Auto oiling system
- Three heads
Cons
- Some oil leaks
- Pistol grip varies
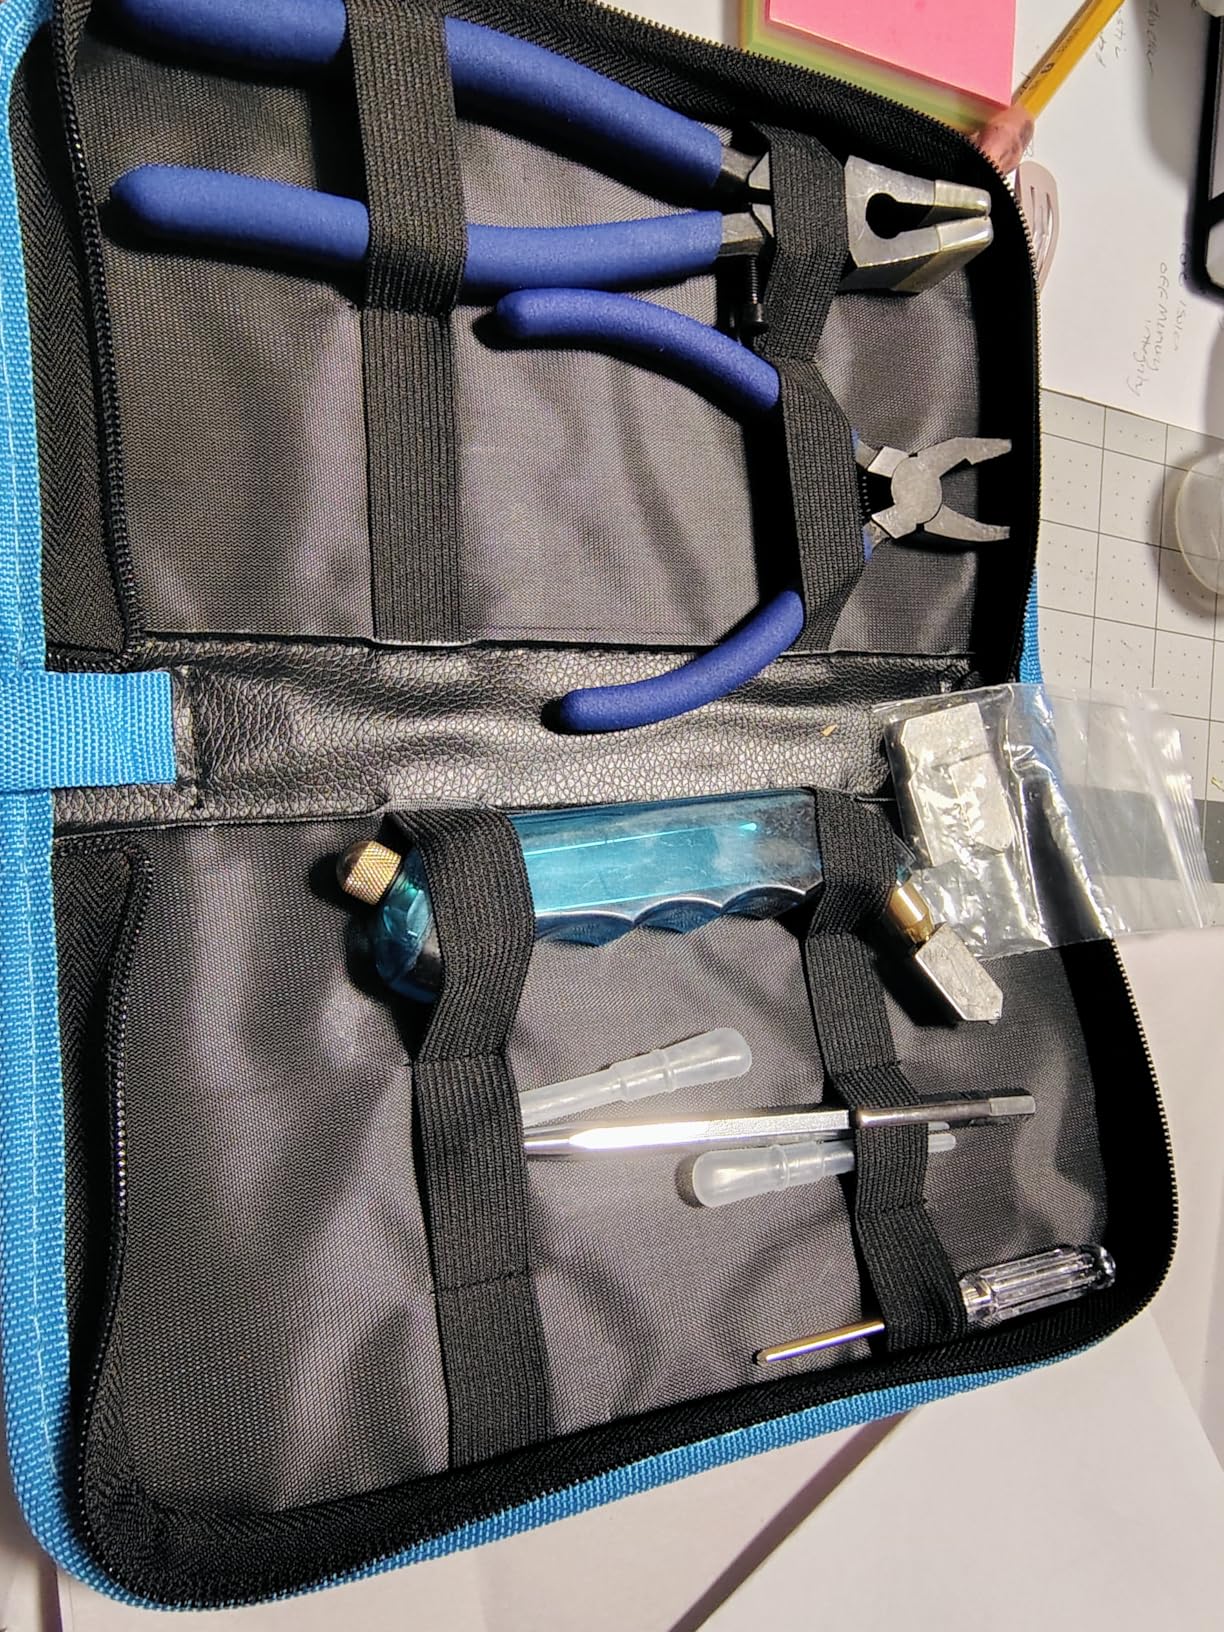
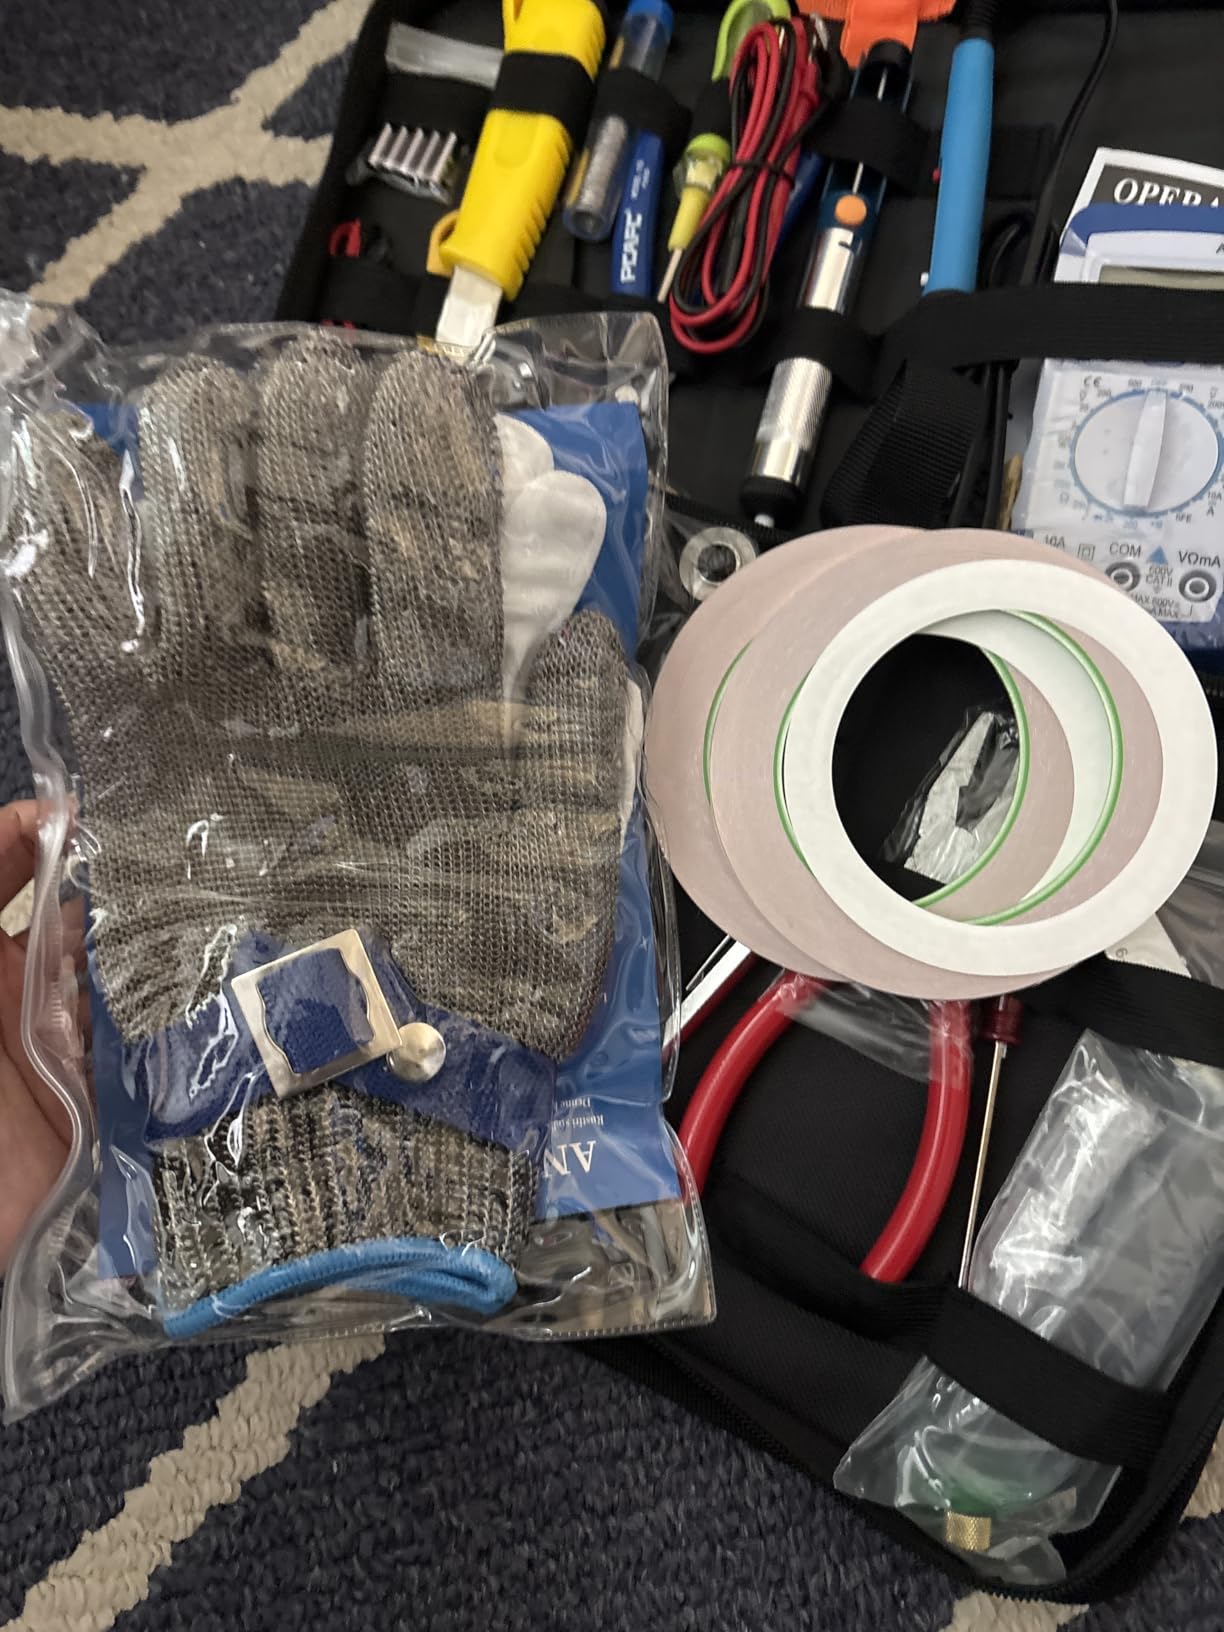
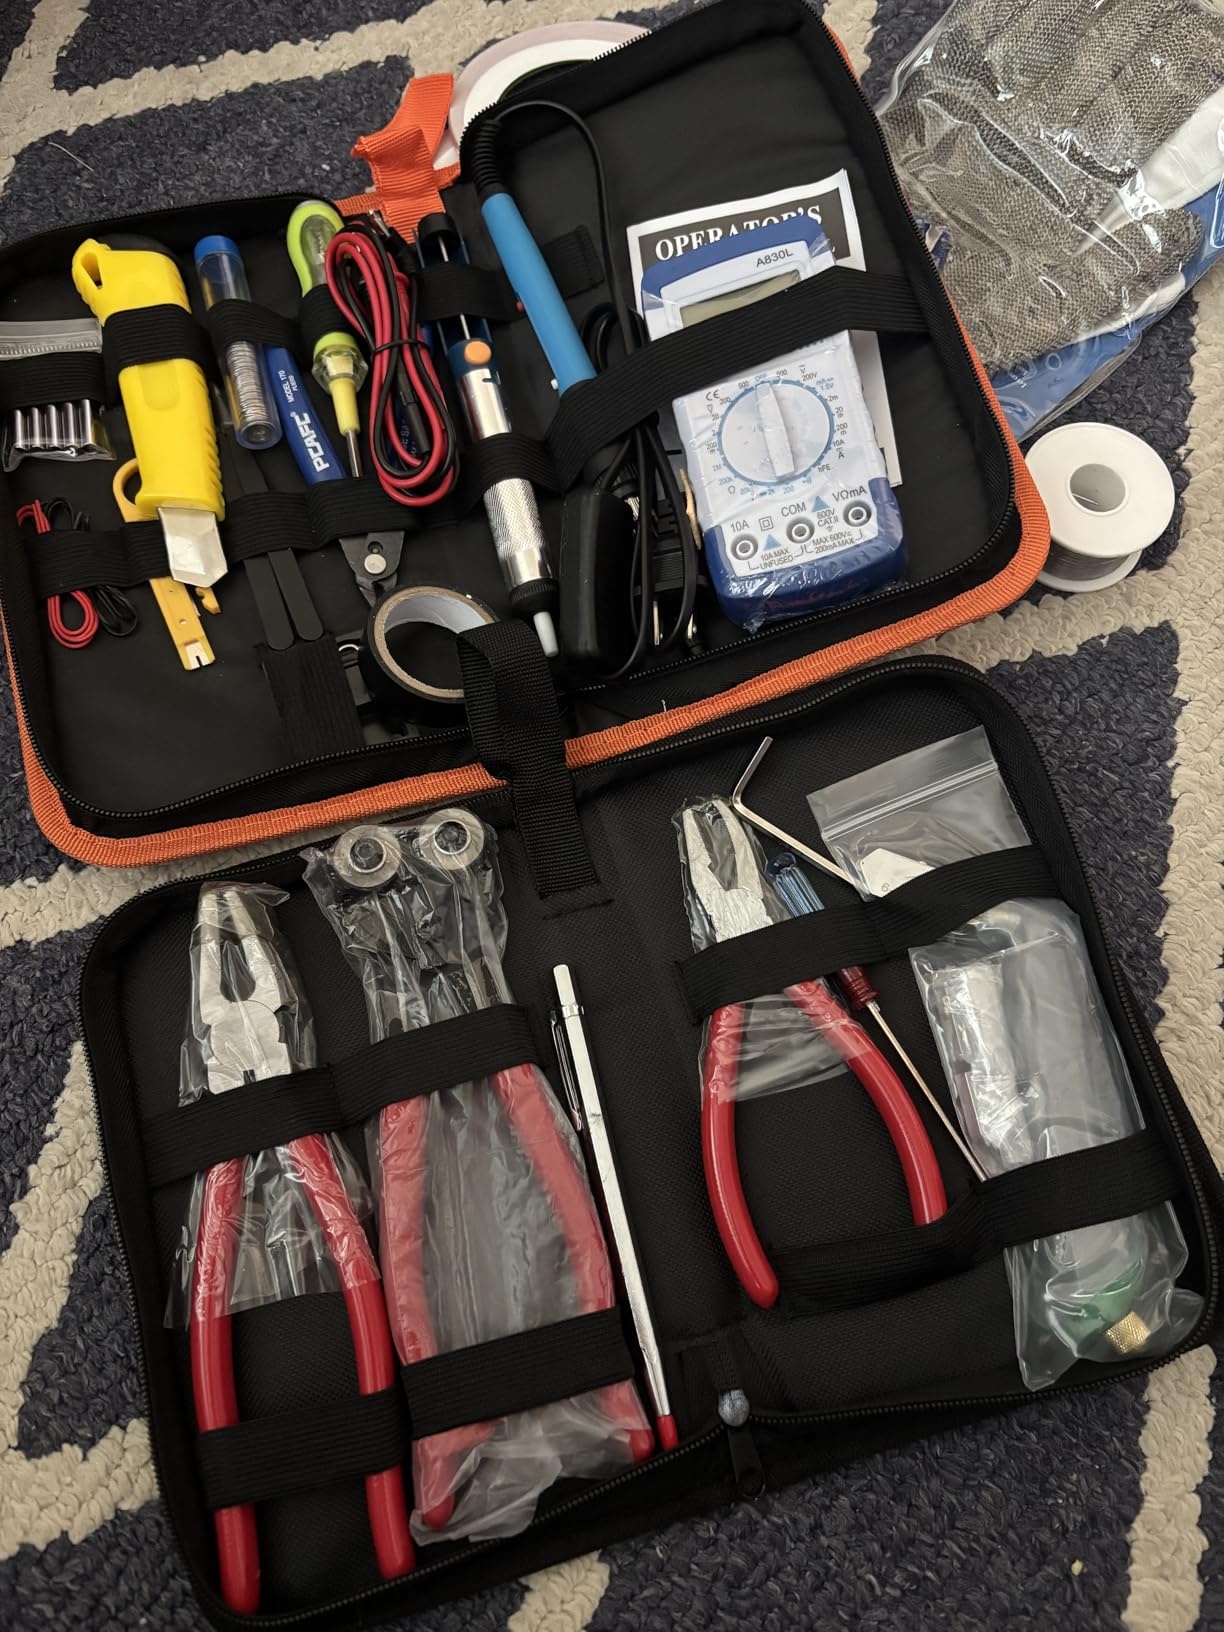
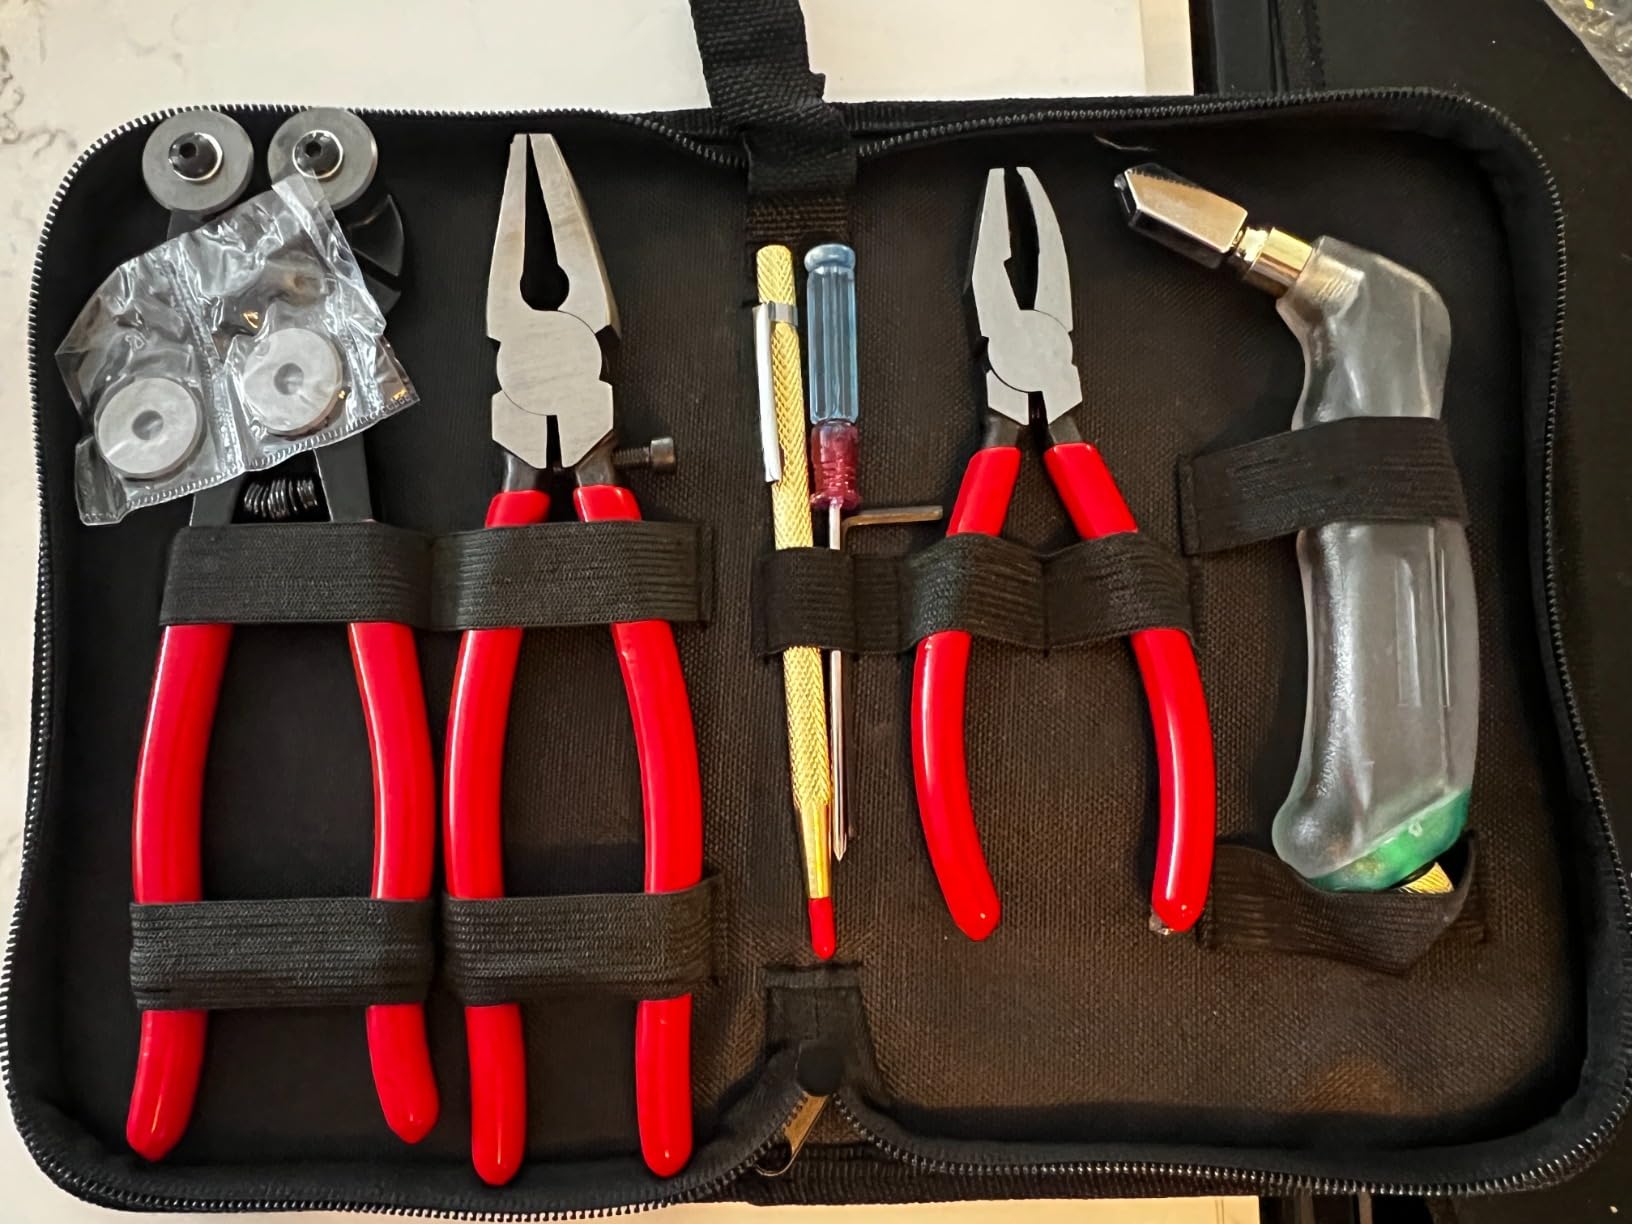
This YOTINO kit became my go-to cutting set for all glass fusing prep work. The 33 pieces include running pliers, breaking pliers, a pistol grip cutter with three interchangeable heads, a tungsten steel scoring pen, and even safety goggles. I cut Bullseye 90 COE glass, stained glass, and mosaic tiles over three weeks without a single head failure.
The YG8 carbide cutting wheels score cleanly and the automatic oiling system keeps the wheel lubricated. I did notice some oil leakage on the first few uses, but tightening the reservoir cap solved the problem. The three cutting heads handle 2-6mm, 6-12mm, and 12-20mm glass, which covers everything from thin jewelry sheets to standard window glass.
I tested the pistol grip cutter against a name-brand cutter that costs twice as much. The YOTINO scored just as cleanly, though the handle feels slightly lighter. The included scoring knives and engraving tool are nice bonuses for detail work, but I use the main cutter and pliers for 90 percent of my cuts. The steel ruler is sturdy and the markings are easy to read.
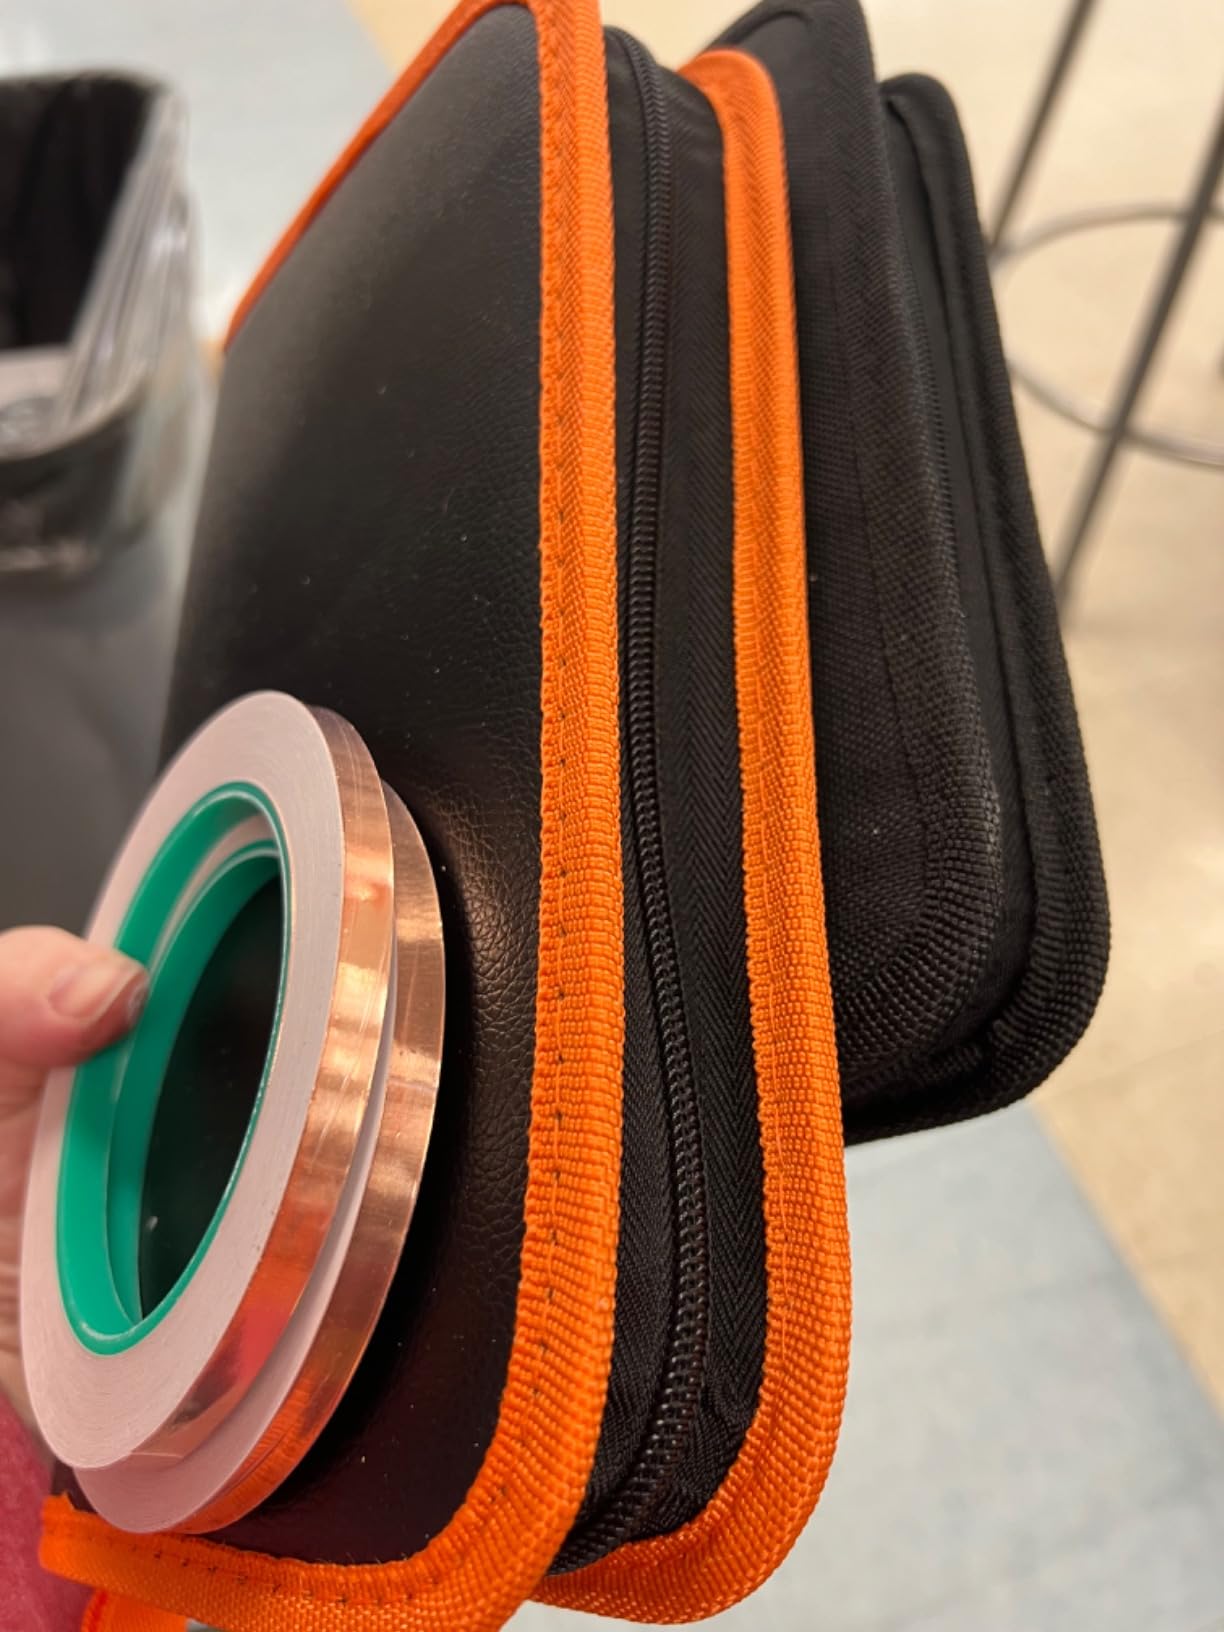
The carrying case is not padded, but it fits most tools if you arrange them carefully. I added a small towel to prevent rattling. With over 800 reviews and a strong average rating, this kit clearly has a strong following, and I understand why. It is the rare budget tool set that actually competes with professional brands.
Project Types and Skill Level
This kit handles every glass cutting task a fuser needs. You can break down large sheets into manageable pieces, score curves for jewelry, and nip small tiles for mosaic inlays. I used the running pliers for long straight breaks and the breaking pliers for detailed nibbling on tight corners.
Beginners will appreciate the safety goggles and the cut-resistant gloves. The pistol grip cutter reduces hand fatigue compared to pencil-style cutters, which matters when you are prepping glass for a full kiln load. I think this kit works for absolute beginners through intermediate fusers who need reliable prep tools.
What Else You Need to Complete Your Setup
This kit does not include a kiln or glass, so you will need to buy fusible glass separately. I recommend starting with a 90 COE glass assortment from a reputable supplier. You also need kiln paper, a heat-resistant work surface, and a good pair of hot gloves for loading and unloading your kiln.
The oil dropper and screwdriver are included, but you will want to buy cutting oil refills eventually. I use standard glass cutting oil from any hardware store. The copper foil tape in this kit is useful if you want to experiment with stained glass techniques alongside your fusing work.
5. MEETDUMPL 26pcs Stained Glass Kit – Complete Starter Set
26pcs Stained Glass Kit,Glass Cutters Tools,Stained Glass Supplies,Heavy Duty Glass Running Pliers,Wheeled Glass Nippers,Breaker Grozer Pliers,Glass Cutter,for Stained Glass,Mosaics,Fusing,Breaking(3)
26-piece kit
Carbon steel
YG8 carbide
3.3 pounds
Pros
- Complete starter kit
- Heavy duty tools
- Cut-proof gloves
- Good value
Cons
- Limited reviews
- No deep manual
I tested this 26-piece kit alongside the YOTINO set to see how a smaller collection performs. The MEETDUMPL tools feel slightly lighter but the YG8 carbide wheels cut with similar precision. The set includes wheeled glass nippers, which I found handy for breaking small pieces into irregular shapes for abstract fusing designs.
The heavy duty carbon steel construction on the running pliers and breaker grozer pliers gives them a solid feel. The automatic oil dispensing glass cutter has three heads like the YOTINO, and the hex wrench makes head swaps quick. I completed about 30 cuts with each head and saw no degradation in scoring quality.
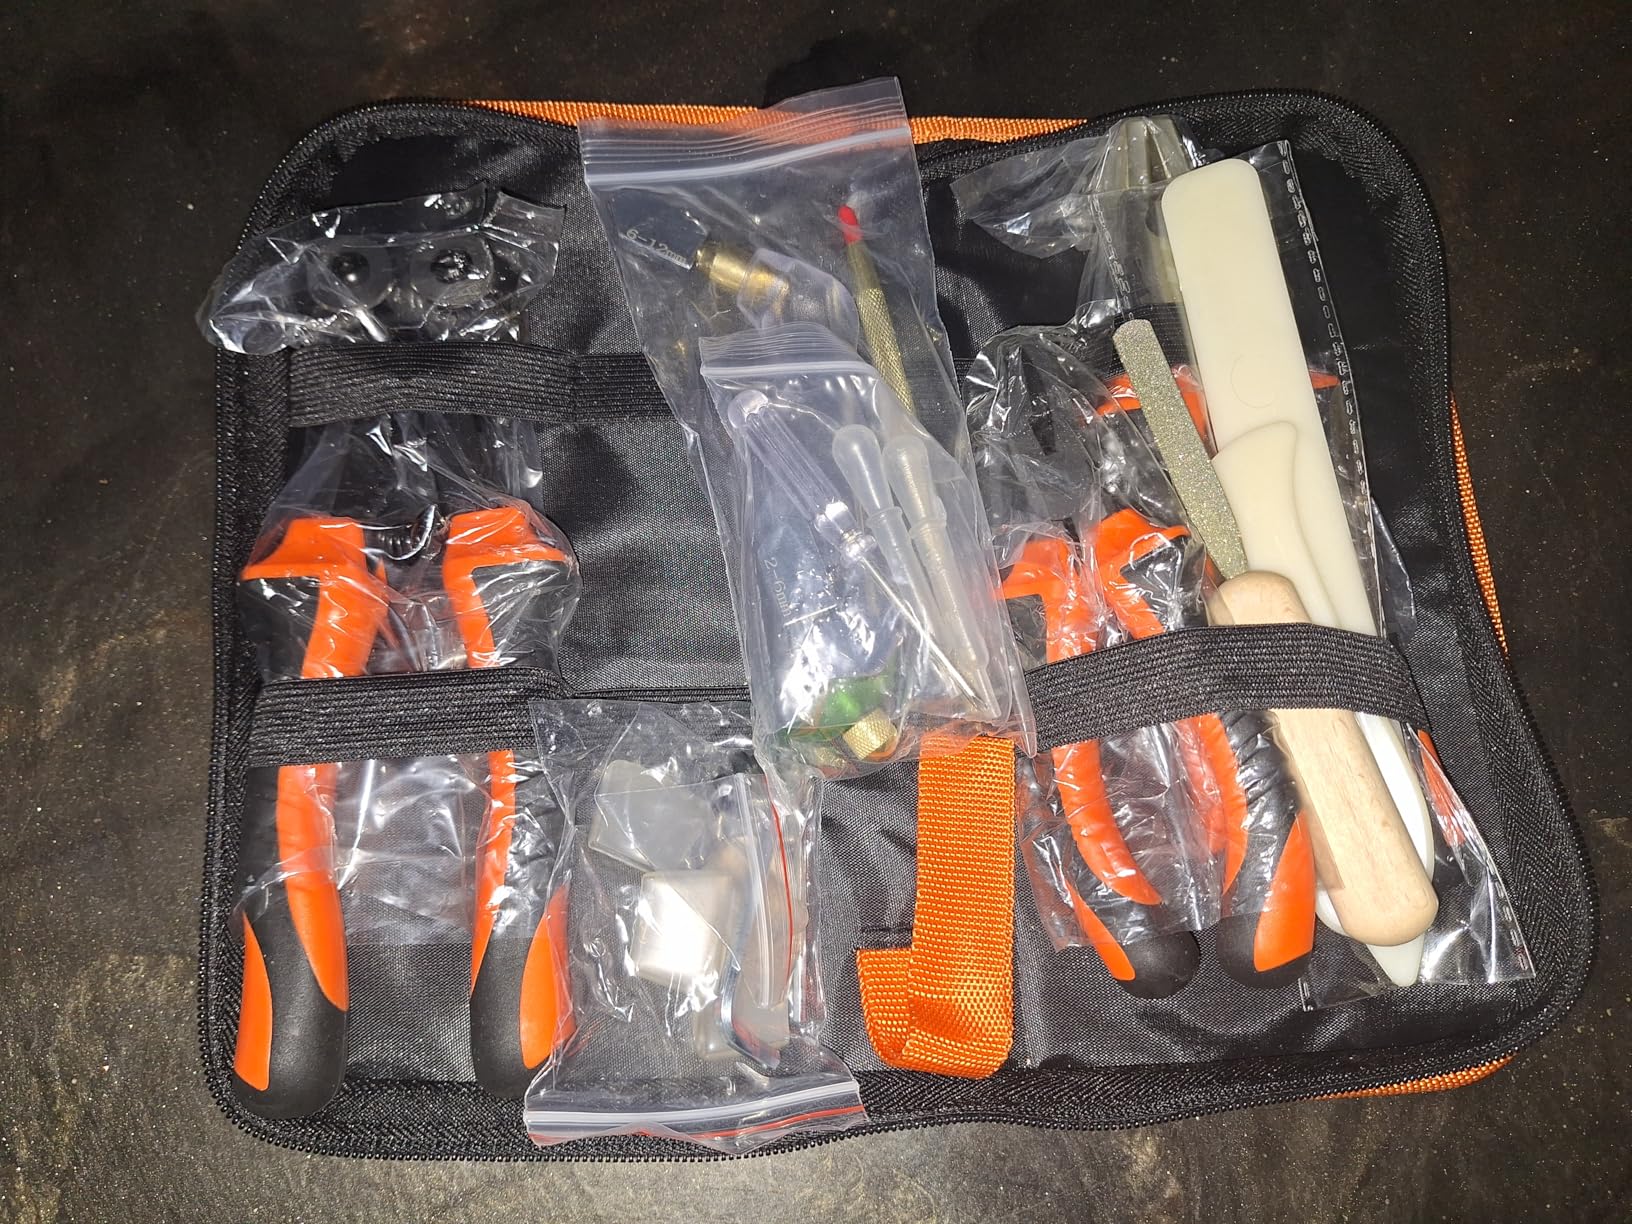
The cut-proof gloves are a nice touch for beginners who worry about slicing their fingers. The diamond hand file works well for smoothing edges on small pieces before placing them in the kiln. I used the copper foil tape for some stained glass repairs, though it is not essential for pure fusing work.
With fewer reviews at the time of testing, this kit has less social proof than the YOTINO. However, the rating is strong. The tools are entry-level rather than professional grade, but they are perfect for someone who wants to test the waters without a major investment. I would recommend this to hobbyists who want a complete cutting set but do not need the engraving extras.
Project Types and Skill Level
This kit handles the full range of glass cutting prep work. I used the running pliers for long straight breaks on sheet glass and the nippers for breaking frit-sized pieces. The wheeled nippers create cleaner edges than standard pliers, which reduces grinding time before fusing.
Beginners who want to try both stained glass and glass fusing will get the most value. The copper foil tape and tungsten carbide scriber support traditional stained glass leading work. For pure fusing, you can ignore some of those extras and focus on the cutter, pliers, and nippers.
What Else You Need to Complete Your Setup
You will need to buy fusible glass, kiln paper, and a kiln or microwave kiln. The kit does not include cutting oil, though the drip tubes are included. I filled mine with standard glass cutting oil from a local supplier. You also need a safe place to store the tools because the case is compact and not padded.
The replacement rubber tips and wheels are thoughtful inclusions. I replaced the rubber tips on the running pliers after two weeks of heavy use. These small details extend the kit’s life and save you from ordering replacement parts right away.
6. vadmepiop Stained Glass Kit 30 PCS – Soldering Iron Included
vadmepiop Stained Glass Kit for Adults Beginners, 30 PCS Tool Set with Glass Cutter, 80W Soldering Iron, Solder Wire, Cut Resistant Gloves Complete Stained Glass Supplies
30-piece kit
80W soldering iron
Auto oil cutter
4.71 pounds
Pros
- 80W temp control iron
- Auto oil cutter
- Digital display
Cons
- No instructions
- Soldering iron issues
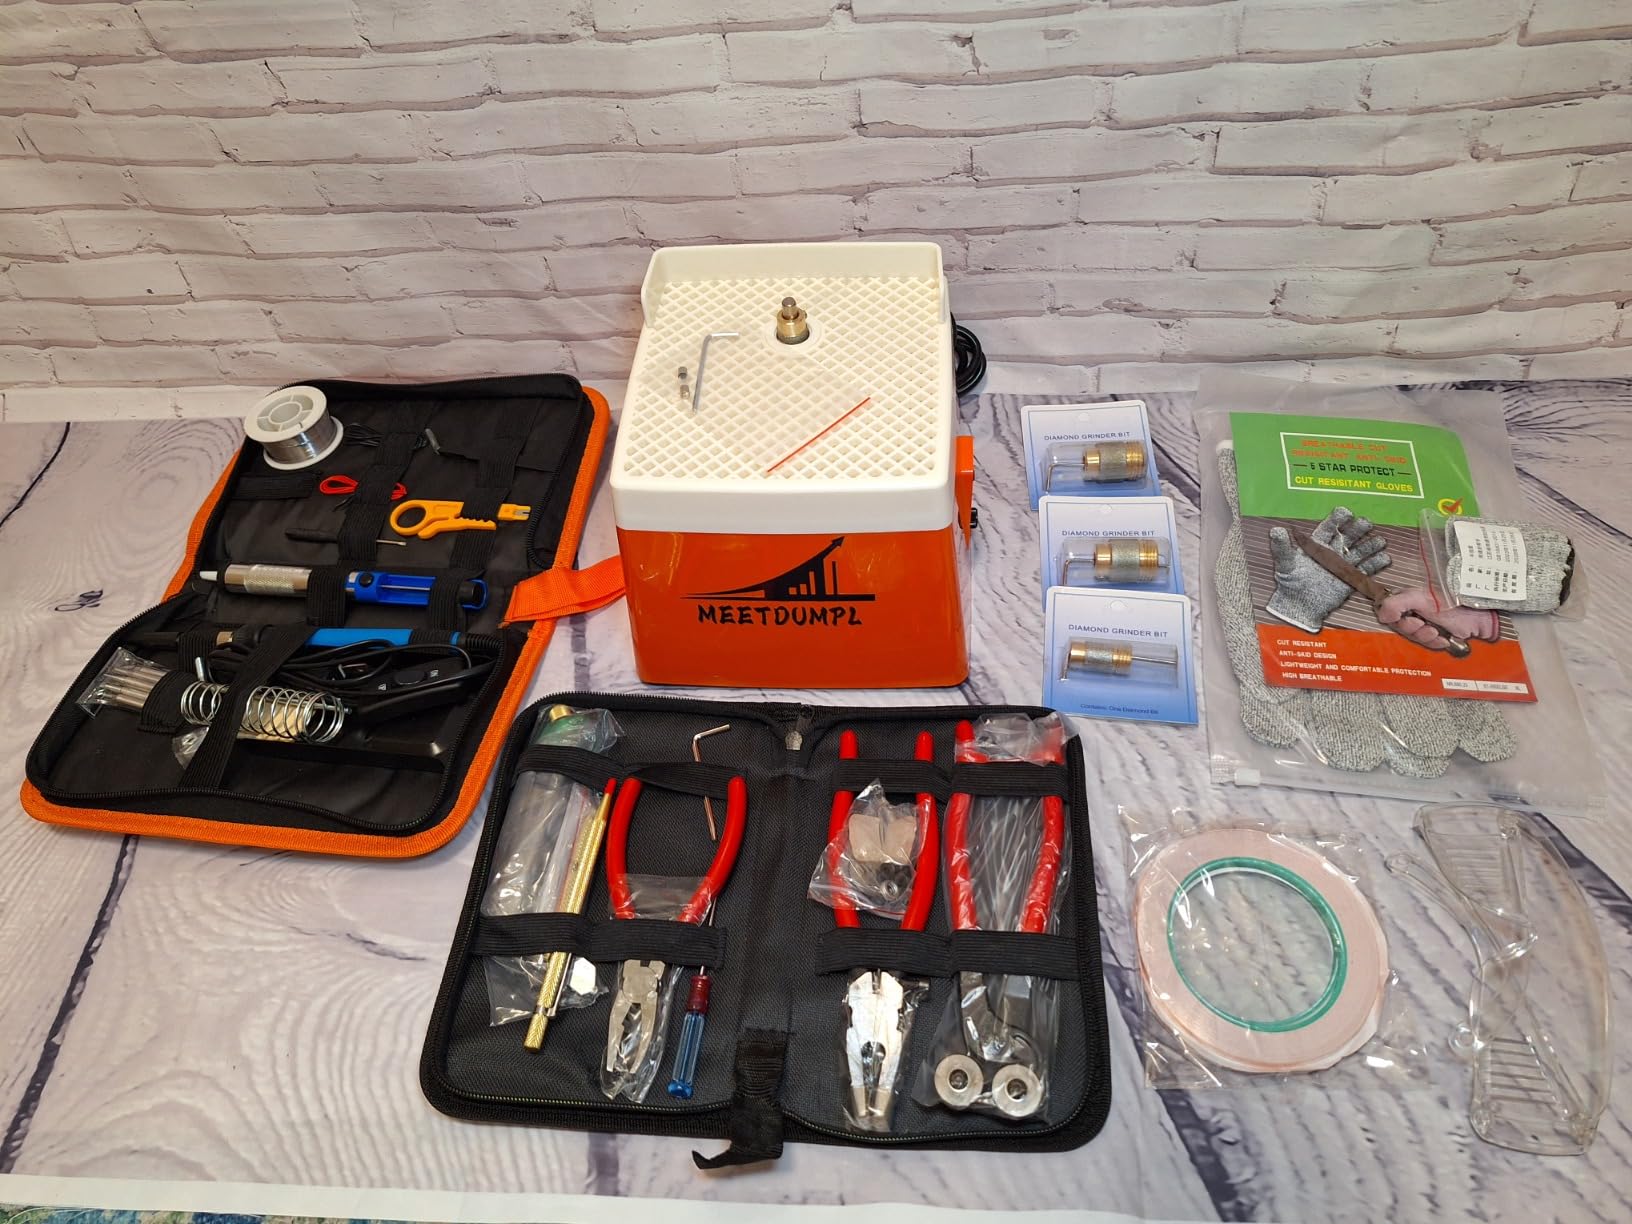
This vadmepiop kit caught my attention because it includes an 80-watt soldering iron with a digital temperature display. Most beginner kits skip soldering tools entirely, so this is a rare all-in-one option. I tested the iron on copper foil joints and found it heats up quickly, though the temperature control is not perfectly consistent across the entire range.
The pistol grip oil-fed glass cutter works well, with the same three-head system as other kits. I appreciated the adjustable running and breaking pliers, which handled 2mm to 20mm glass without slipping. The cut-resistant gloves are a single pair, which is enough for personal use but not for group workshops.
I tried the multimeter on a soldering iron tip just to test the tool, but it is honestly overkill for glass work. The multiple soldering tips are useful for different joint sizes, and the digital display helps beginners learn temperature basics. The solder wire included in the box is labeled in Chinese, which confused me until I translated it.
The main weakness is the complete lack of instructions. I had to rely on online videos to set up the soldering iron correctly. Some users report temperature control issues, and I did notice the iron ran about 20 degrees hotter than the display indicated. For a beginner, this is manageable but requires patience.
Project Types and Skill Level
This kit works best for beginners who want to explore both stained glass and basic fusing. The soldering iron lets you finish copper foil panels, which is a different skill set than fusing but complementary. I used the glass cutter and pliers to prep pieces for a kiln, then used the soldering iron to assemble a small stained glass panel on the side.
The temperature range covers both electronics soldering and stained glass work. Beginners who want one tool set for multiple crafts will appreciate the versatility. I do not recommend this for professional studios because the iron quality is hobby-grade.
What Else You Need to Complete Your Setup
You need to buy flux separately because the kit does not include any. Proper stained glass flux makes a huge difference in solder flow, and electronics flux is not the same formula. I also recommend adding a small bottle of cutting oil because the auto-feed reservoir empties faster than expected.
The kit does not include a kiln or glass, so those remain separate purchases. For fusing specifically, you need a microwave kiln or electric kiln, plus kiln paper and fusible glass. I used the tools from this kit to prep glass, then fired the pieces in my microwave kiln with good results.
7. MEETDUMPL Stained Glass Kit 100W – Higher Wattage Iron
MEETDUMPL Stained Glass Kit,Stained Glass Supplies,Stained Glass Kits for Adults,with 100W Soldering Iron Kit,Glass Cutter Tool Kit,for Stained Glass Making.(Patent has been registered).(3)
100W soldering iron
Temp 180-520C
Flux included
3.9 pounds
Pros
- Higher wattage iron
- Flux and foil included
- Cut-proof gloves
Cons
- Temp inconsistency
- No instructions
- Flux issues
This MEETDUMPL kit upgrades the soldering iron to 100 watts with a temperature range up to 520 degrees Celsius. I tested it on larger copper foil panels and found the extra power helps maintain heat on wide joints. The ON/OFF button is a nice safety feature missing from the 80-watt version.
The kit includes flux paste, solder wire, and two rolls of copper foil tape, which saves you from ordering those separately. The desoldering pump is an odd inclusion for a glass kit, but it works for electronics repairs if you dabble in both hobbies. I focused on the glass cutter, pliers, and iron for my testing.
The temperature inconsistency is the biggest issue. The iron does not hold a steady temperature, which makes soldering large panels frustrating. I used a separate thermometer to check and found swings of 30 degrees or more. The solder included is 63/37 flux-core, which works for electronics but may not be ideal for traditional stained glass joints.
The flux paste appears to be electronics-style rather than stained glass flux. I noticed it produced more smoke and did not flow as smoothly as proper stained glass flux. If you buy this kit, plan to replace the solder and flux with materials from a glass supplier. The cutting tools themselves are solid, and the diamond hand file is useful for edge cleanup.
Project Types and Skill Level
This kit suits beginners who want higher wattage for soldering larger panels. The extra power helps with wide copper foil seams and thicker lead came. I used it for a small window panel and found the iron adequate once I learned to work with its temperature quirks.
For glass fusing, you will use the cutter and pliers more than the iron. The kit supports a hybrid approach where you fuse small pieces and then solder them into a larger panel. Intermediate crafters who want one tool set for mixed media projects will find the most value here.
What Else You Need to Complete Your Setup
Beyond the kit, you need proper stained glass flux and solder from a dedicated supplier. I also recommend buying a kiln for fusing work because this kit does not include any firing equipment. The two handmade zipper bags help organize tools, but they are not padded for transport.
The glass cutter heads are interchangeable, and the replacement wheels are included. I swapped heads after two weeks of daily use and saw a noticeable improvement in scoring. The cut-proof gloves are a single pair, so you might want a backup if you work frequently or teach classes.
8. MEETDUMPL Stained Glass Kit with Grinder – All-in-One Premium
Pros
- Includes grinder
- Diamond bits
- Safety goggles
- LCD display
Cons
- Cutter may leak
- Temp issues
- No instructions
This is the most comprehensive kit in our roundup because it includes an actual glass grinder. The 110V grinder runs quietly and comes with two diamond bits in 5/8-inch and 1-inch sizes. I ground edges on fused pieces before firing them a second time, and the grinder removed chips and sharp corners cleanly.
The 100-watt soldering iron has an LCD display instead of a simple digital readout, and the temperature range extends to 968 degrees Fahrenheit. The safety package includes goggles, two pairs of cut-proof gloves, and finger cots for detailed work. I appreciated the goggles because grinding throws tiny glass shards that you do not want in your eyes.
The glass cutter leaked oil during my first few uses, which required me to tighten the reservoir and wipe the handle. The soldering iron suffers from the same temperature inconsistency as the smaller MEETDUMPL kit. I also found no instructions in the box, which is frustrating for a kit at this level.
The grinder is the standout feature. It turns rough-cut glass into smooth pieces ready for fusing or leading. I used the 1-inch bit for large curves and the 5/8-inch bit for tight inside corners. The grinder is compact enough for a small workbench, though it is not silent. I recommend a dust mask in addition to the goggles.
Project Types and Skill Level
This kit is ideal for serious hobbyists who want to prep glass professionally before fusing or leading. The grinder eliminates the need to buy a separate grinding machine, which typically costs more than this entire kit. I used it for a batch of 20 coasters and the uniform edges improved my final fused pieces significantly.
Beginners can grow into this kit because it includes everything from cutting to grinding to soldering. The learning curve is steeper than basic kits, but you will not outgrow the tools as quickly. I recommend this for someone who has tried glass work and knows they want to continue.
What Else You Need to Complete Your Setup
You still need a kiln for fusing, fusible glass, and kiln paper. The grinder produces water and glass slurry, so you need a small basin or tray to catch runoff. I use a plastic tub under my grinder and change the water after each session. A small sponge helps keep the grinding bit wet without making a mess.
The included solder is thin, which works for small joints but may frustrate you on large panels. I upgraded to standard stained glass solder after my first project. The three-month warranty offers some peace of mind, though I have not needed to use it.
9. VEVOR Electric Kiln 1500W – Professional Home Studio
VEVOR Electric Kiln, 1500W Melting Furnace Max Temperature 2192℉/1200℃, Stainless Steel, for Wax Casting, Clay DIY, Metal Tempering, Glazing on Pottery, Silver
1500W heating
2192°F max
PID control
38 pounds
Pros
- Professional grade
- Fast heating
- Good cooling
- Large chamber
Cons
- Not Prime
- No auto ramp
- Heavy
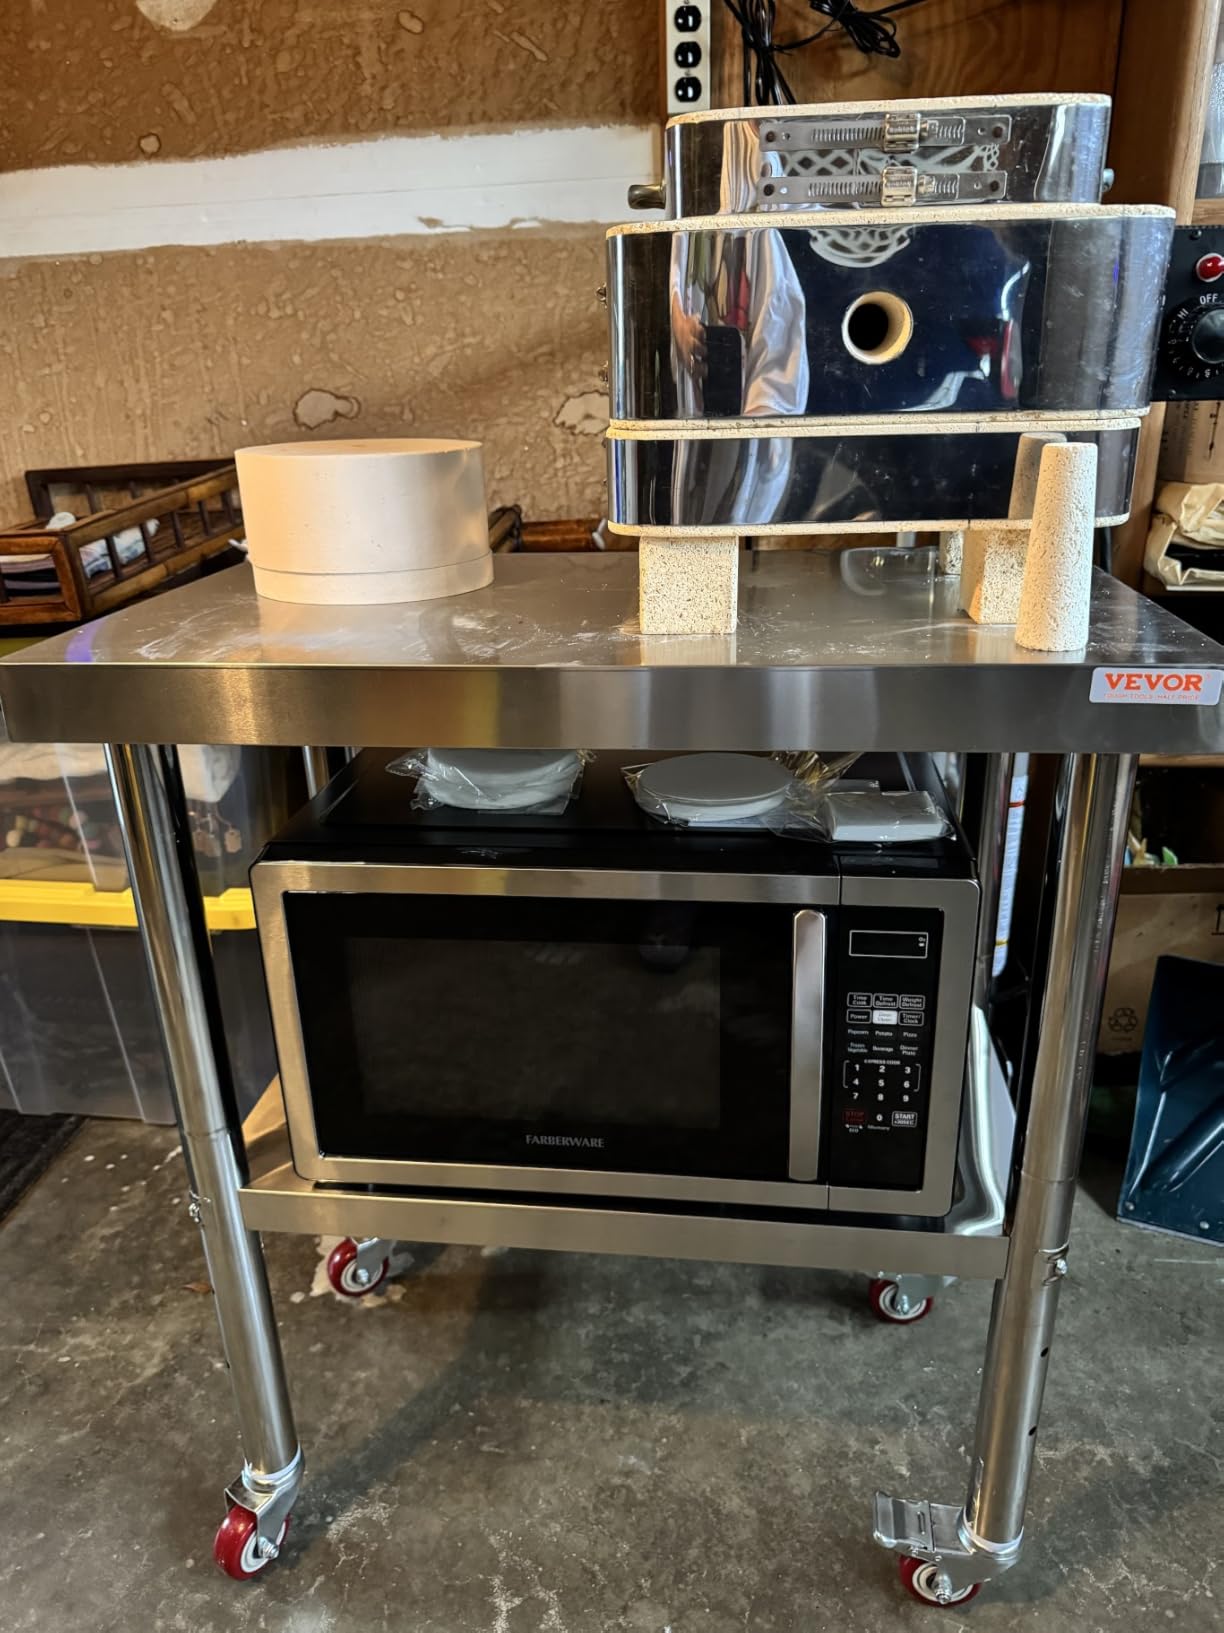
Moving from microwave kilns to this VEVOR electric kiln felt like upgrading from a camping stove to a professional kitchen. The 1500-watt heating element reaches 2192 degrees Fahrenheit in about 34 minutes, and the PID digital controller maintains temperature within a few degrees. I tested it with full fuse schedules on 6mm glass stacks and the results were consistently even across the entire chamber.
The stainless steel body feels substantial at 38 pounds, and the internal chamber is larger than any microwave kiln. I fit a 6-inch square plate and several small pendants in the same firing cycle. The cooling vents and heat exhaust structure keep the exterior from getting dangerously hot, though I still recommend placement away from walls and flammable materials.

The biggest limitation is the lack of programmable ramping. You must manually adjust the temperature at each stage of your firing schedule, which means you cannot walk away for the full cycle. I set timers on my phone to remind me when to raise or lower the temperature. This is manageable for small batches but tedious for long annealing cycles.
I used this kiln for glass fusing, metal clay, and small enameling projects. The versatility is impressive. The included crucible tongs and heat-proof gloves are adequate for metal work but I prefer longer hot gloves for glass loading. The digital LED display is bright and easy to read from across the room.
Studio Setup and Power Requirements
This kiln requires a standard 110V outlet but draws 1500 watts, so do not share the circuit with other high-draw appliances. I ran it on a dedicated garage outlet with a 20-amp breaker and had no issues. The unit is 38 pounds, so you need a sturdy table or kiln stand that can handle the weight and heat.
Ventilation is important because the chamber releases heat and occasional odors from binders in the insulation. I placed mine near a window with a small fan to move air. The stainless steel exterior does not get as hot as the chamber, but the area directly around the kiln still warms up significantly during long firings.
Project Size and Growth Potential
The internal chamber handles plates up to about 6 inches square and multiple small pieces at once. This is large enough for coasters, small bowls, jewelry batches, and test tiles. I would not try large panels or deep slumping molds because the chamber depth is limited compared to studio kilns.
For hobbyists who outgrow microwave kilns, this unit is the logical next step. It gives you proper annealing control and full fuse temperatures without the cost of a professional studio kiln. If you plan to sell your work or produce regular batches, the faster turnaround and larger capacity justify the investment over any microwave option.
10. VEVOR 1500W Programmable Electric Kiln – Multi-Stage Control
VEVOR 1500W Programmable Electric Kiln, Digital Melting Furnace with Multi-Stage Temperature Control, Stainless Steel 2192°F/1200℃ for Jewelry, Metal, Glass, Ceramics, Wax Casting & DIY Crafts
1500W
9-stage program
2192°F max
38.6 pounds
Pros
- Programmable 9 stages
- Multi-stage control
- PID accuracy
- Prime eligible
Cons
- Complex programming
- No auto ramp
- Unclear instructions
This programmable VEVOR kiln adds multi-stage temperature control to the same 1500-watt platform. You can program up to nine ramp stages, which is enough for complex fusing, slumping, and annealing schedules. I set up a full fuse schedule with a ramp to 1480, hold, ramp to 960 for annealing, and hold again. The PID controller tracked each stage accurately.
However, the kiln does not automatically ramp between stages. You still need to manually advance from one stage to the next, which surprised me. I thought programmable meant fully automatic, but it is more like a guided manual system. The improved thermocouple addresses earlier overheating issues, and I saw no temperature spikes during my tests.

The side swing door is convenient for loading and unloading, and the included heat-proof gloves and crucible tongs are the same as the non-programmable model. I found the instructions unclear, with some sections translated awkwardly. I spent about an hour watching online tutorials before I felt confident programming the controller.
The programming interface uses button controls rather than a touchscreen. It takes some practice to navigate the menus, but once you save a few custom schedules, repeating them is easy. I saved three schedules: one for full fuse, one for tack fuse, and one for slumping. This made my workflow much faster after the initial learning curve.

Studio Setup and Power Requirements
The power requirements are identical to the non-programmable model: 110V, 1500 watts, on a dedicated circuit. The unit is slightly heavier at 38.6 pounds, so a sturdy table is mandatory. The side swing door requires clearance on the right side, so plan your table placement accordingly.
I recommend keeping a logbook near the kiln to record your schedules and results. Because the programming is manual, you will want to document which settings work for specific glass types. The ventilation and heat management are the same as the other VEVOR model, so a fan and open window remain good practices.
Project Size and Growth Potential
The chamber size is the same as the non-programmable VEVOR, so you get the same 6-inch plate capacity. The real growth potential comes from the multi-stage control. As you learn more complex techniques like drop forming and pot melting, the programmable stages let you experiment with custom temperature curves.
I think this kiln is the best long-term investment for hobbyists who know they will stick with glass fusing. The upfront cost is higher than microwave kits, but the ability to run proper annealing schedules and experiment with advanced techniques makes it worth the extra money. Serious hobbyists and small business owners should consider this over any microwave option.
How to Choose the Right Glass Fusing Kit
Buying your first glass fusing kit can feel overwhelming because the options range from a simple microwave kiln to a full electric furnace. I made mistakes on my first purchases that cost me time and money. This section breaks down the key factors you should consider before clicking buy.
Microwave Kiln vs Electric Kiln
Microwave kilns are small ceramic fiber containers that focus microwave energy to heat glass. They cost far less than electric kilns and work on any standard microwave. The downside is limited size, uneven heat, and shorter lifespan. I used microwave kilns for six months before upgrading, and they taught me the basics.
Electric kilns give you precise temperature control, larger chambers, and proper annealing. They require dedicated electrical circuits and more space. If you want to make plates, bowls, or panels larger than two inches, you need an electric kiln. I recommend starting with a microwave kiln if you are unsure about the hobby, then upgrading once you know you enjoy it.
Understanding COE Compatibility
COE stands for coefficient of expansion, which measures how much glass expands and contracts when heated. Glass with different COE values will crack as they cool. The two main standards are 90 COE and 96 COE. I started with 90 COE because Bullseye Glass and many American suppliers use that system.
You must stick with one COE for all pieces in a single project. Do not mix 90 and 96 glass. Most beginner kits do not include glass, so you need to buy it separately. Check the COE rating before ordering and keep your scraps labeled. I store my 90 and 96 glass in separate bins to avoid accidental mixing.
Essential Tools You Cannot Skip
Every fuser needs a glass cutter, running pliers, breaking pliers, and a reliable scoring tool. Safety goggles protect your eyes from glass shards, and cut-resistant gloves save your fingers during prep. Kiln paper or fiber paper prevents your pieces from sticking to the kiln shelf. Hot gloves are mandatory for loading and unloading any kiln.
A good glass grinder is optional for beginners but becomes essential as you advance. It smooths edges and corrects small cutting mistakes. I waited six months to buy my first grinder and regretted the delay. The MEETDUMPL kit with grinder included is a rare exception that gives you this tool upfront.
Safety Gear and Workspace Setup
Glass fusing involves sharp tools, extreme heat, and potentially toxic fumes from some materials. You need safety glasses for cutting, hot gloves for kiln work, and a well-ventilated space for firing. I keep a fire extinguisher rated for electrical fires near my kiln and check the smoke detector before every long firing.
Your workspace needs a heat-resistant surface for cutting and a sturdy table for the kiln. Do not place electric kilns on flammable surfaces or near curtains. Microwave kilns should sit on ceramic tiles inside the microwave. I also recommend a dust mask when grinding glass or handling powdered frit.
Budget Breakdown for Beginners
The most affordable entry point is a microwave kiln kit plus glass and kiln paper. That gets you started on a modest budget if you buy small glass assortments. A mid-range approach is a comprehensive cutting tool set plus a microwave kiln. The premium path is an electric kiln plus tools, which requires a larger investment.
I recommend the budget path for pure experimentation, the mid-range path for hobbyists who want to make regular pieces, and the premium path for anyone selling work or running classes. Factor in ongoing costs for glass, kiln paper, and electricity. My monthly supply bill runs at a moderate amount for regular production.
Frequently Asked Questions
What are common problems in fused glass art?
Common problems include thermal shock from incompatible COE glass, devitrification from overheating, bubbles trapped between layers, and uneven heating in small kilns. Cracking usually happens during cooling if the annealing schedule is too fast. Using consistent COE glass and following proper firing schedules prevents most issues.
Is glass fusing an expensive hobby?
Glass fusing can start affordably with a microwave kiln and basic tools. A serious home studio with an electric kiln requires a larger investment. Ongoing costs include glass, kiln paper, and electricity, which add up monthly for moderate production.
What is the 6mm rule for glass?
The 6mm rule states that fused glass projects should have a total thickness of 6mm for stability. Glass naturally wants to be 6mm thick when fully fused. If your piece is thinner, it will contract and pull in. If thicker, it will spread out and lose shape.
What is the best kiln for fusing glass?
The best kiln depends on your goals. Microwave kilns work for small jewelry and beginners on a budget. Electric kilns like the VEVOR 1500W models offer larger capacity and precise temperature control for serious hobbyists. Professional studios use programmable kilns with automatic ramping for complex schedules.
Final Thoughts
The best glass fusing kits in 2026 range from affordable microwave options to professional electric kilns. I recommend the YOTINO 33-piece tool set for prep work, the VEVOR 1500W electric kiln for serious home studios, and the Tujoe microwave kiln for beginners testing the waters. Your choice depends on budget, space, and how deeply you want to explore this rewarding craft.
Start with a kit that matches your current skill level, then upgrade as your projects grow. Glass fusing is one of the most satisfying crafts I have tried, and the right equipment makes the learning curve much smoother. Pick a kit from this guide, order some compatible glass, and make your first fused piece this week.