I have spent the last three months testing screen printing kits in my garage workshop. I wanted to find the best screen printing kits that actually work for beginners without requiring a massive budget.
Screen printing is one of the most satisfying ways to create custom t-shirts, posters, and home decor. The right starter kit can take you from complete novice to printing your first design in under a weekend.
In 2026, the options range from simple vinyl-based sets to full photo emulsion kits with exposure lamps. I tested eight popular kits across different price points and skill levels to help you find the perfect match for your projects.
Top 3 Picks for Best Screen Printing Kits
After printing dozens of test designs on fabric, paper, and wood, three kits stood out from the rest. I selected these based on build quality, ease of use, value for money, and how quickly I could produce clean prints.
Whether you are starting a small t-shirt business or just want a weekend hobby, one of these three will fit your needs and budget.


Best Screen Printing Kits in 2026
The table below gives you a side-by-side look at all eight kits I tested. I included frame sizes, ink types, and what makes each kit unique so you can compare at a glance.
| Product | Specifications | Action |
|---|---|---|
|
Caydo 23 Pieces Screen Printing Starter Kit
|
|
Check Latest Price |
 Speedball Beginner Vinyl Printing Kit
|
|
Check Latest Price |
 National Geographic Kids Printing Kit
|
|
Check Latest Price |
|
Caydo 38 Pieces Screen Printing Kit
|
|
Check Latest Price |
 VEVOR 1 Color 1 Station Press
|
|
Check Latest Price |
 Pllieay 60pcs Screen Printing Kit
|
|
Check Latest Price |
|
Speedball Advanced All-In-One Kit
|
|
Check Latest Price |
 IKONART Custom Stencil Kit 3.0
|
|
Check Latest Price |
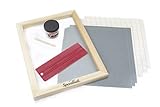
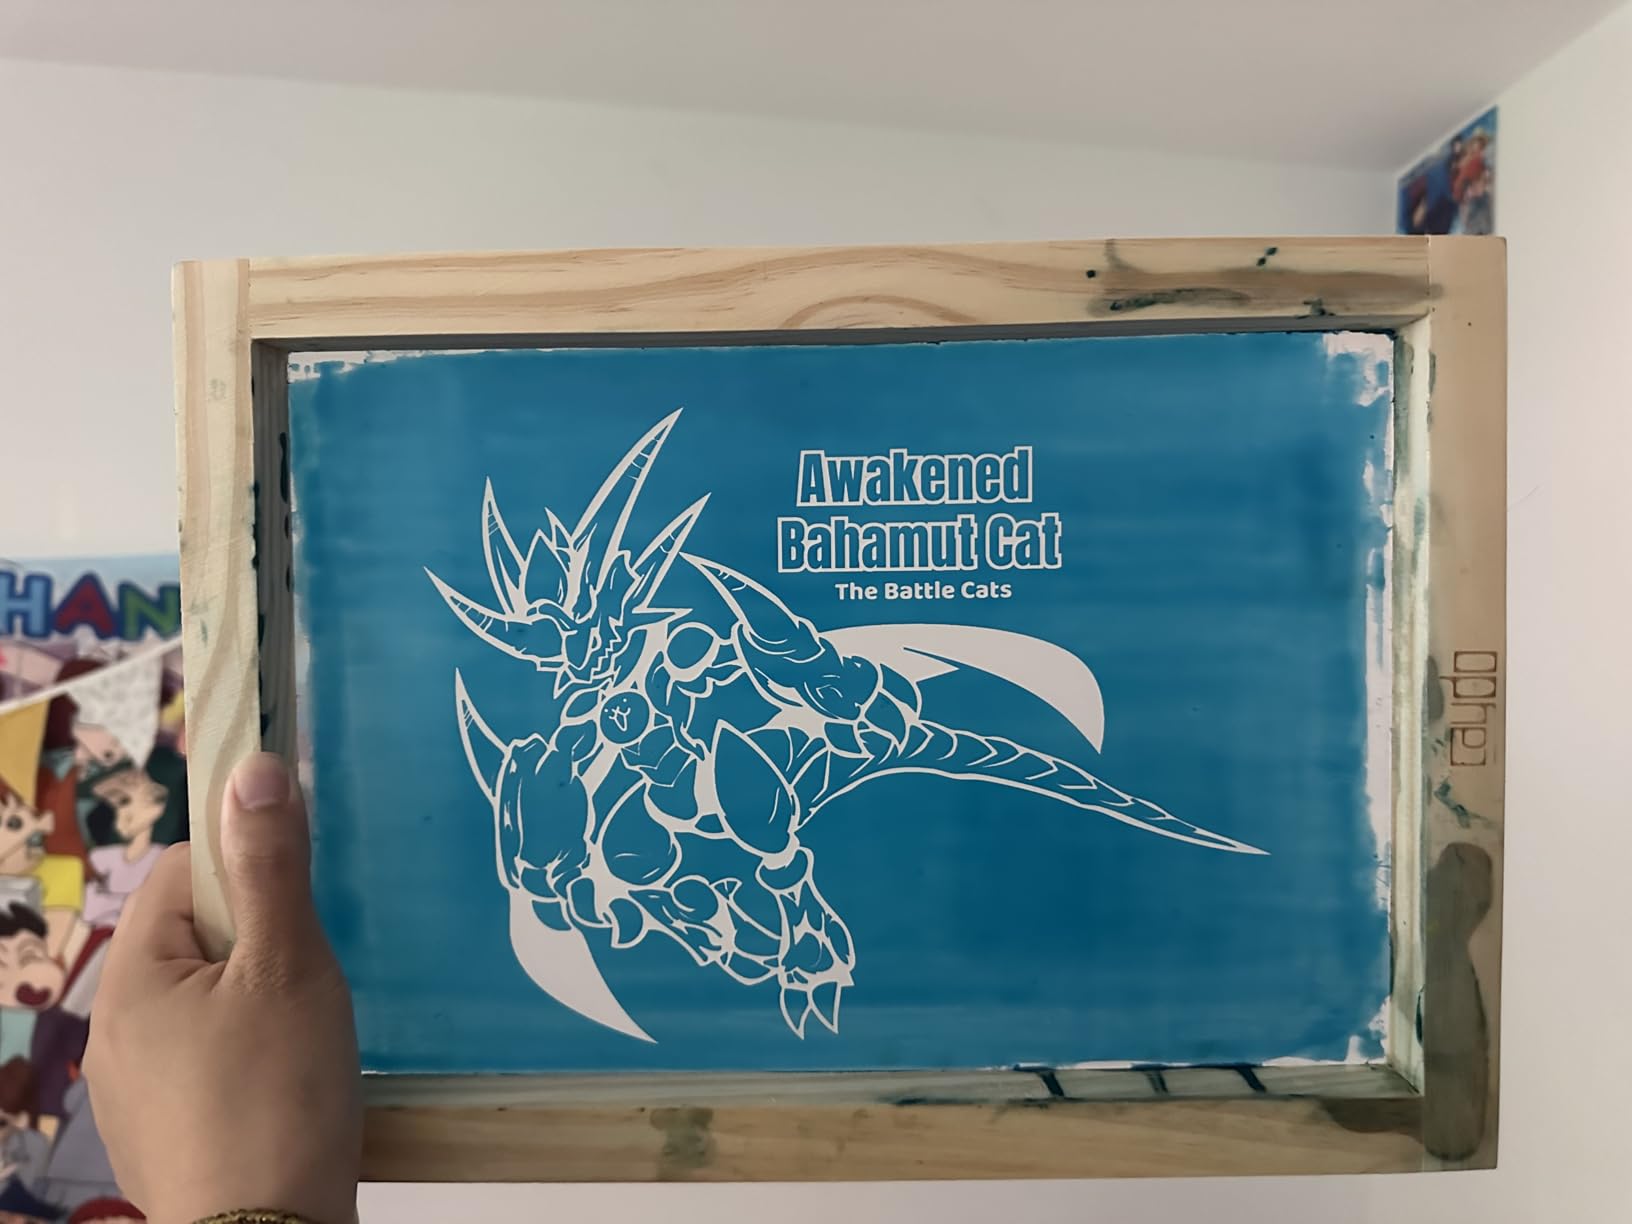
1. Caydo 23 Pieces Screen Printing Starter Kit — Best Budget Starter
Caydo 23 Pieces Screen Printing Starter kit Include 3 Different Size of Wood Silk Screen Printing Frame with Mesh, Screen Printing Squeegees, Inkjet Transparency Film, Ink Knife, and Mask Tape
23 pieces
3 wood frames (6x10, 8x12, 10x14)
2 squeegee sizes
Masking tape included
Pros
- Great value with 3 frame sizes
- Sturdy wood construction
- Everything needed to start
- Multiple use on T-shirts and bags
- Cost-effective starter set
Cons
- Does not include photo emulsion
- Wood frames may warp with water
I picked up the Caydo 23-piece kit when I wanted to test one of the best screen printing kits on a tight budget. Within two hours of opening the box, I had my first print on a cotton tote bag. The learning curve was almost flat.
The three frame sizes let me experiment with small logos and larger designs. I found the 6 x 10 inch frame perfect for pocket prints, while the 10 x 14 inch frame handled full chest designs without any awkward repositioning.
The included squeegees feel solid in hand. I noticed the masking tape helps block off areas quickly, which saved me from buying extra supplies right away. That is the kind of small detail that makes a starter kit feel complete.
One issue I ran into was the mesh fraying slightly at the stapled edges after my third wash. The wood frames also soaked up water, so I had to dry them thoroughly between sessions to avoid warping.

Since the kit does not include photo emulsion, I used vinyl stencils from my cutting machine. This worked well, but anyone wanting to burn custom screens will need to buy emulsion and a scoop coater separately.
The inkjet transparency film is decent for basic transfers, though I struggled with extremely fine details. For bold shapes and text, it performed perfectly. I would not use it for photographic images.
After two weeks of regular use, the frames started showing minor wear. I would recommend this kit to anyone who wants to try screen printing casually before investing in higher-end equipment.
If you are printing on t-shirts, canvas bags, or tank tops, this kit handles all of them. Just keep your designs simple and avoid heavy water exposure on the wood frames.
Setup Requirements and Workspace Needs
This kit takes up almost no space. I set it up on a 2 x 3 foot table in my garage. You only need a flat surface, a light source, and a sink nearby for cleanup.
Because there is no exposure unit or chemicals, ventilation is less of a concern. I printed comfortably in my basement with just a window cracked open. No fumes, no mess.
Storage is simple. The frames stack flat, and the squeegees fit in a drawer. I keep everything in a plastic bin that slides under my workbench.
Learning Curve and Time to First Print
I went from unboxing to my first successful print in about 90 minutes. The learning curve is gentle because you are essentially painting through a screen rather than managing photo emulsion.
The biggest challenge for me was getting consistent pressure with the squeegee. After five or six prints, I developed a smooth motion that produced even coverage without streaks.
If you have used vinyl stencils before, you will feel at home. For total beginners, expect a few practice runs before your prints look professional. I ruined two shirts on my first day.
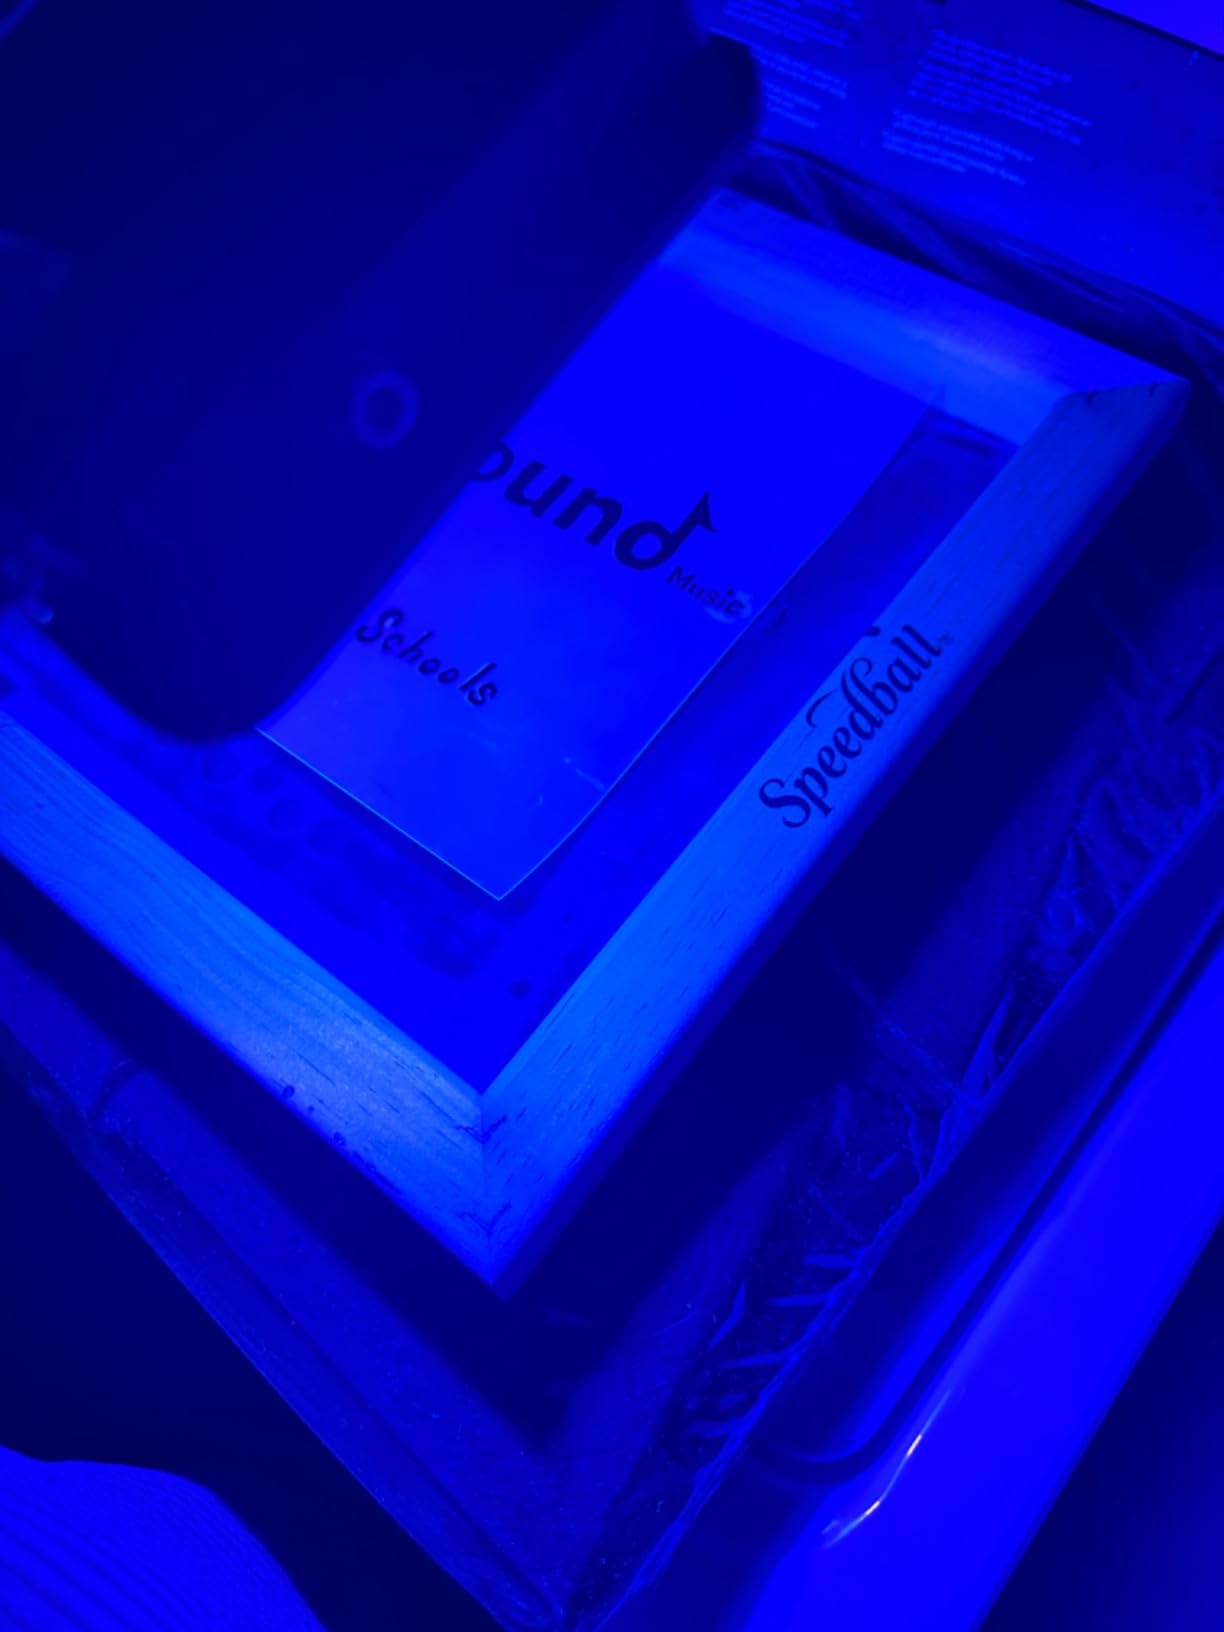
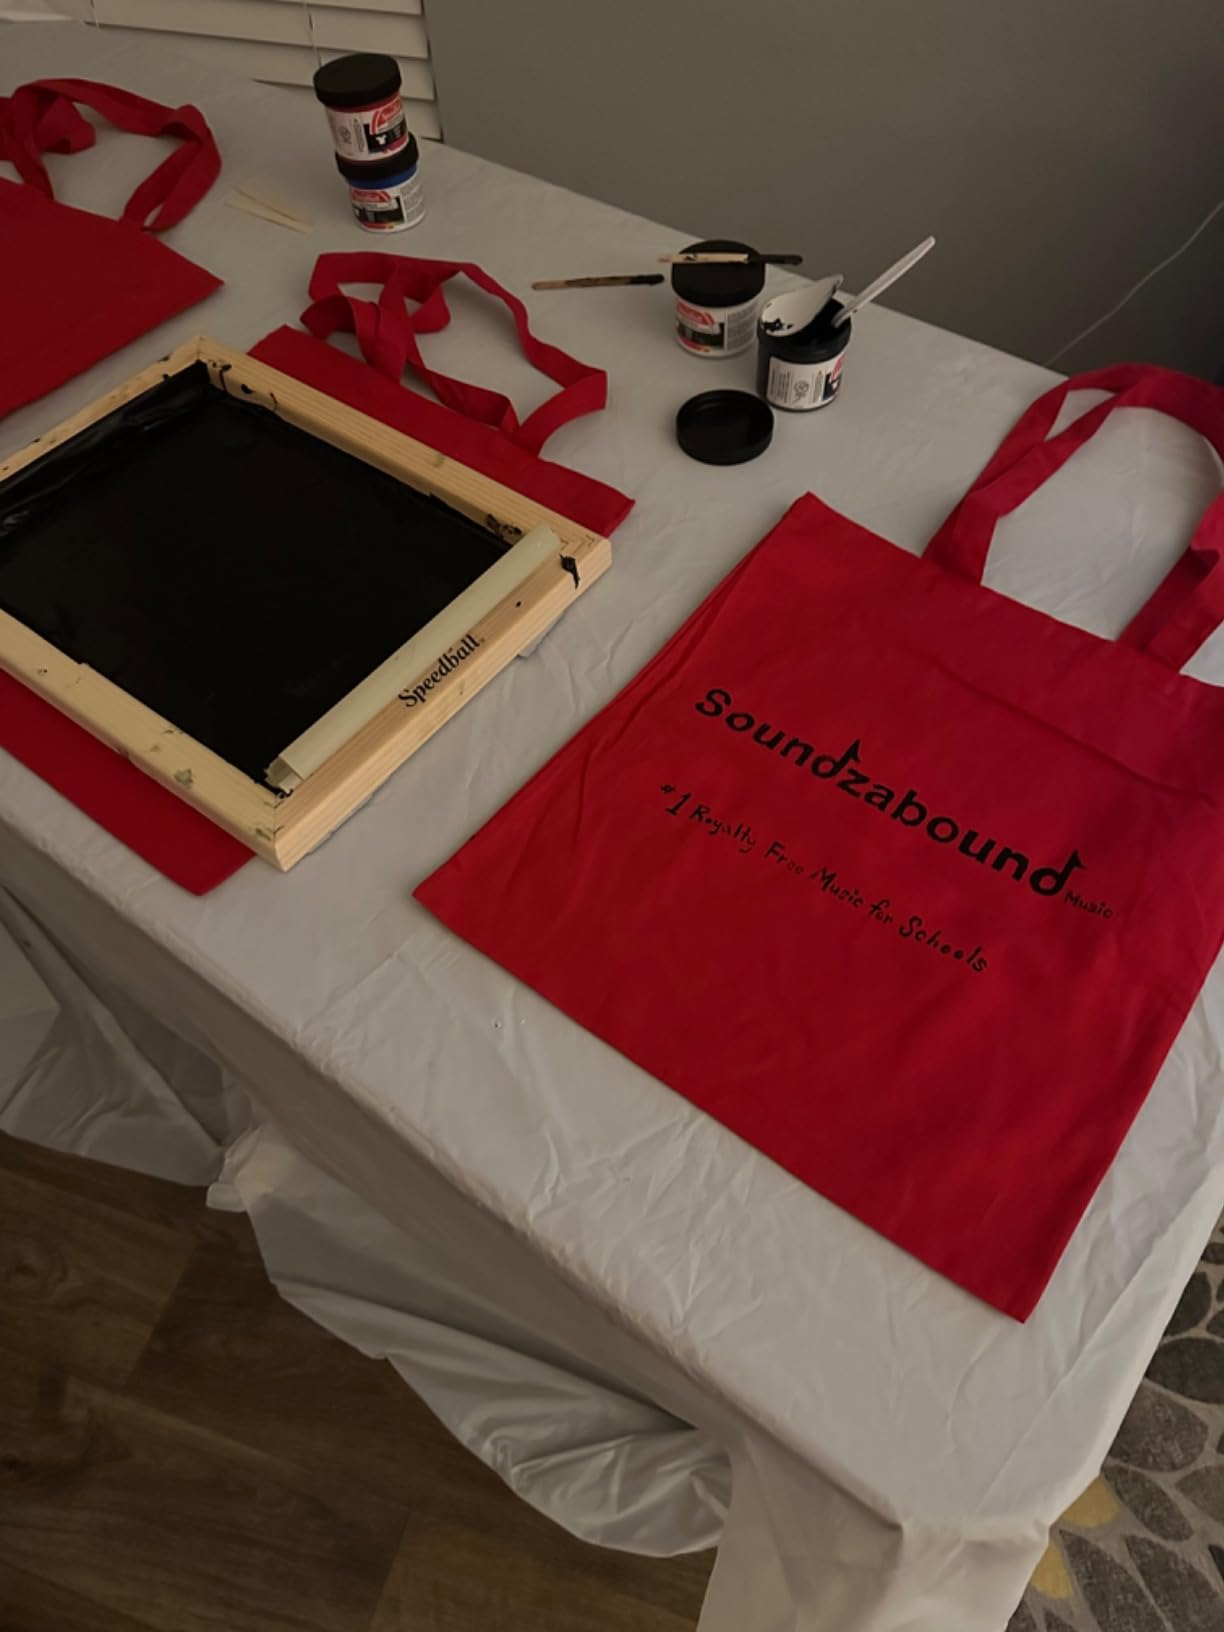
2. Speedball Beginner Screen Printing Craft Vinyl Kit — Best for Vinyl Crafters
Speedball Beginner Screen Printing Craft Vinyl Kit, Use with Cutting Machine to Easily Print Custom T-Shirts and Home Decor
Vinyl screen printing method
10x14 wood frame
4oz black fabric ink
Red Baron squeegee
Pros
- No chemicals or emulsion needed
- Easy to clean with water
- Clear instructions included
- Great for hobby crafters
- High-quality screen included
Cons
- Included vinyl quality is poor
- Limited to single color printing
I tested the Speedball Beginner kit because I wanted to see how vinyl screen printing compares to traditional photo emulsion. The process is surprisingly simple and almost mess-free.
You create a stencil on a vinyl cutting machine, weed it, and attach it to the screen with transfer tape. Then you squeegee ink through the open areas.
The 10 x 14 inch wood frame feels solid. I printed on t-shirts, tote bags, and even wood panels with the same setup. The included 4oz black ink goes further than I expected.
The biggest downside is the included vinyl quality. I ended up using my own permanent vinyl because the craft sheets included in the box were too thin and tore during transfer.
This method limits you to single-color designs. You can layer colors by waiting for one to dry and re-aligning the screen, but registration is tricky without a press.
Cleanup takes five minutes. I just rinsed the screen and squeegee under warm water. No emulsion remover, no chemicals, no darkroom required.
The instructions are clear and illustrated. I showed my teenager how to use it, and she printed her first shirt in under an hour.
If you already own a Cricut or Silhouette, this kit makes perfect sense. It bridges your vinyl crafting skills with fabric printing without a steep learning curve.
Setup Requirements and Workspace Needs
You need a vinyl cutting machine to make stencils. Without one, this kit is incomplete. I used my Cricut Explore, and the process was smooth.
The workspace needs are minimal. A kitchen table works fine. You do not need a darkroom or special ventilation because there are no chemical emulsions.
Storage is compact. The frame slides behind a bookshelf, and the ink bottle fits in a craft drawer. I keep the vinyl and tape in my existing supply box.
Learning Curve and Time to First Print
I printed my first shirt in 45 minutes. The vinyl weeding takes the most time. The actual printing is fast and satisfying.
Registration for multi-color prints is the hardest part. I managed two-color designs by eyeballing alignment, but a press with micro-registration would make this much easier.
This is the easiest entry point into screen printing. If you want instant gratification without studying emulsion chemistry, the Speedball vinyl kit delivers.
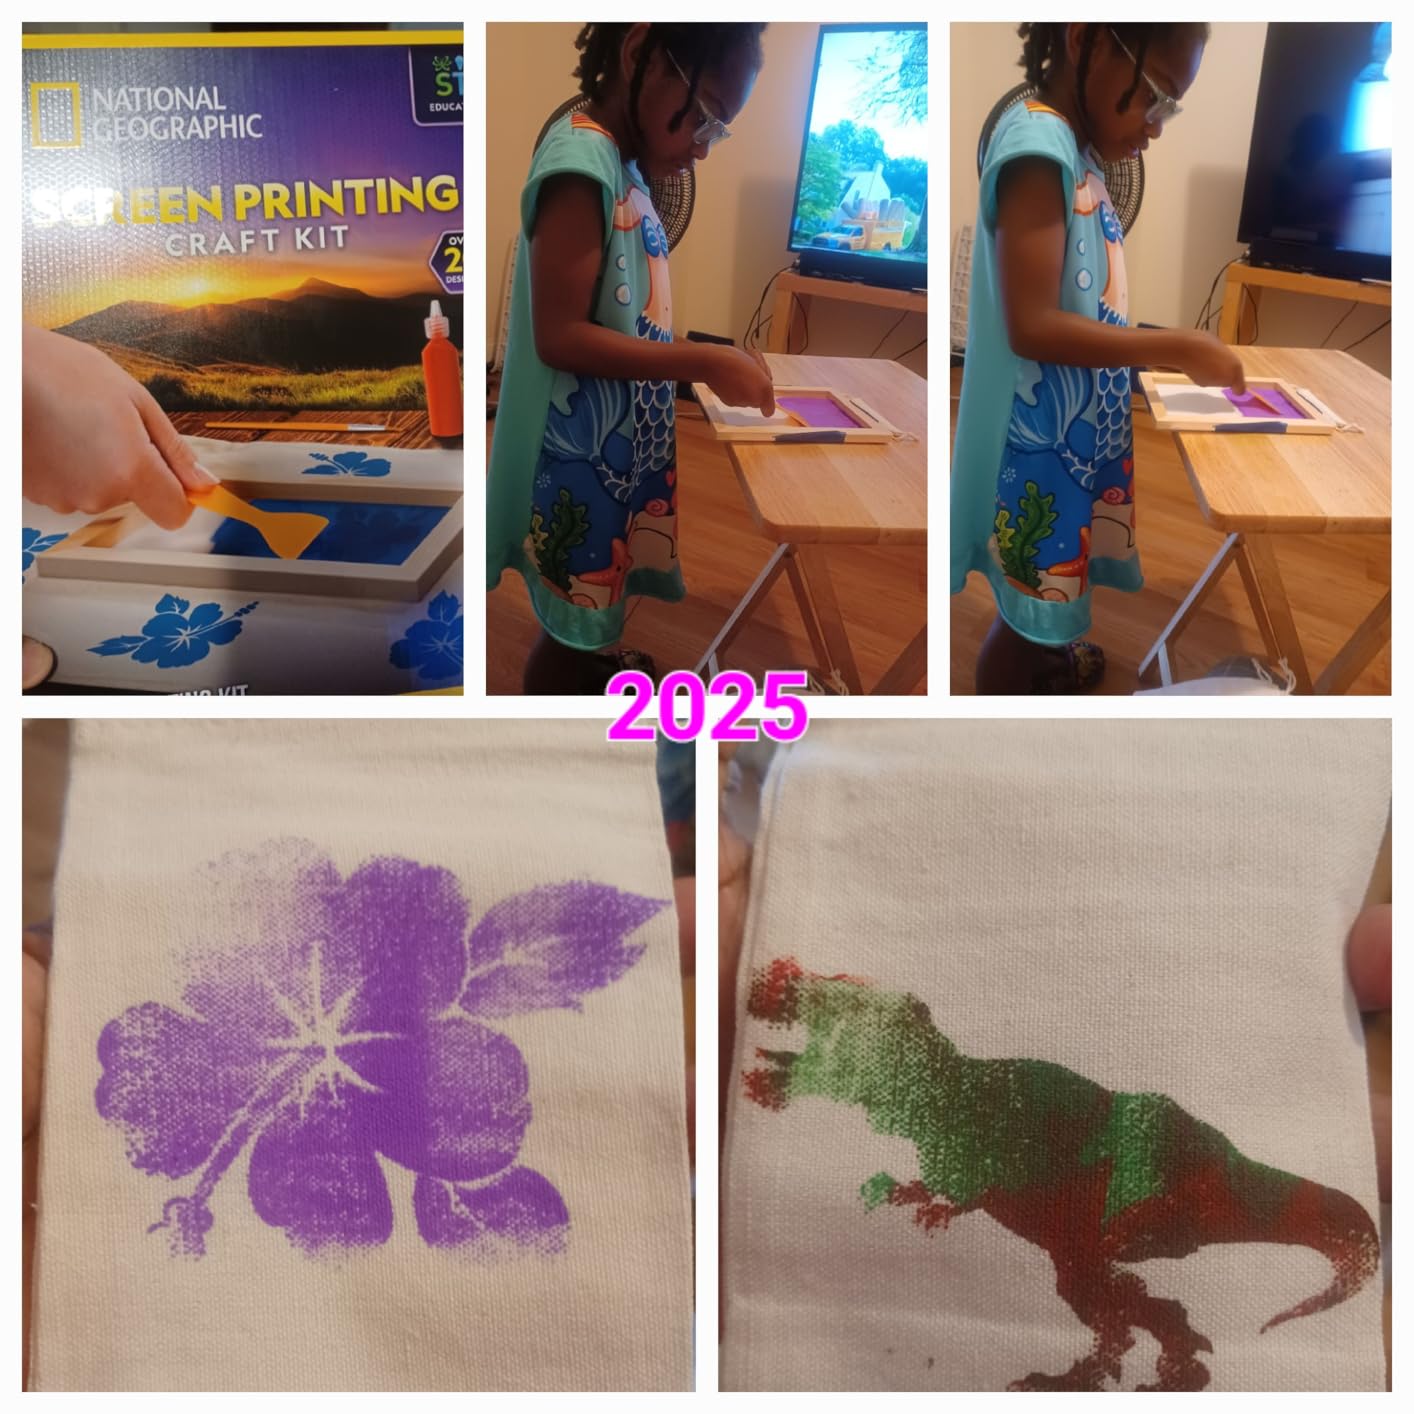
3. National Geographic Kids Screen Printing Kit — Best for Ages 10 and Up
NATIONAL GEOGRAPHIC Kids Screen Printing Kit - Arts and Crafts Silk Screen Printing Kit with Fabric Paint, Frame, Stencils & Squeegee Plus Drawstring Bag & More, Screen Print, Silkscreening Kit
Ages 10 and up
5 reusable stencils with 23 designs
Fabric and puffy paint
Drawstring bag included
Pros
- Perfect for kids and preteens
- Includes everything needed
- 5 reusable stencils
- Great for group activities
- Award-winning brand
Cons
- Paint may not withstand washing
- Needs more permanent paint for clothing
I tested this kit with my 11-year-old niece during a rainy Saturday. She opened the box and immediately started picking stencils from the five reusable sheets.
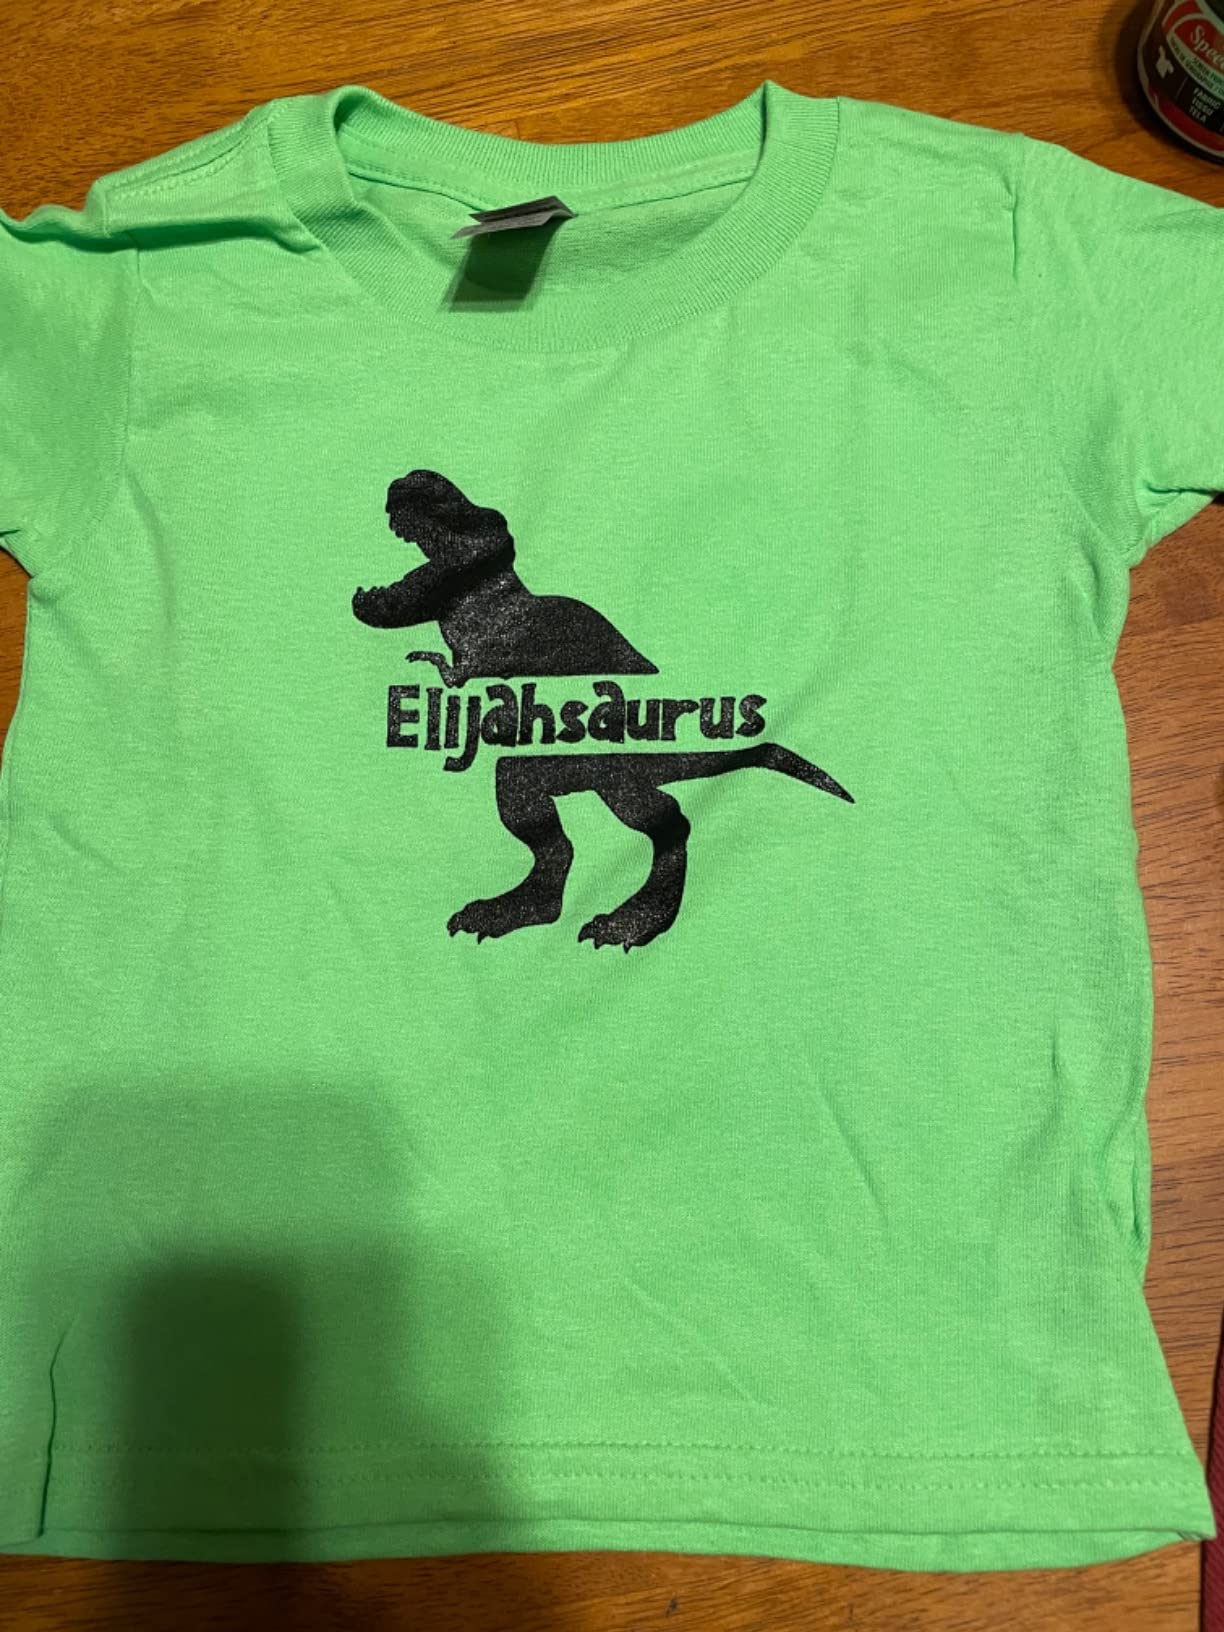
The kit includes 23 designs across dinosaur, sea creature, pet, nature, and geometric themes. The drawstring bag was her first project, and she finished it in 30 minutes.
The fabric paint is thick and bright. I noticed it dries slightly raised, which gives prints a textured look. The included paintbrush lets you touch up edges.
The paint durability is my main concern. After washing the bag once, the design faded about 20 percent. I would recommend heat-setting with an iron before washing.
The step-by-step instructions are written for children. My niece read them aloud and followed along without asking for help. That independence is valuable.
The wooden mold is sturdy. I expected flimsy plastic, but the frame holds up to repeated use. The squeegee tape is easy for small hands to manage.
This is a great gift for creative kids. I would recommend it for birthday parties or classroom activities. One kit can entertain three to four children for hours.
Parents should know this is not a professional kit. The paint is craft-grade, and the stencils are pre-made. Kids cannot create custom designs without additional supplies.
Setup Requirements and Workspace Needs
This kit requires a table, newspaper, and a sink. I set it up on a card table in the living room. Cleanup took ten minutes with a wet cloth.
No chemicals or sharp tools are involved. I felt comfortable letting my niece work mostly unsupervised. The paint is water-based and washes off skin easily.
Storage is compact. Everything fits back in the original box. I slide it onto a closet shelf between projects.
Learning Curve and Time to First Print
My niece printed her first design in 20 minutes. The stencils eliminate the hardest part of screen printing, which is creating the image.
She struggled with squeegee pressure at first. Two practice prints later, she was producing clean, even layers. The learning curve is almost flat.
I recommend this kit for ages 10 to 14. Younger children might need help with the squeegee. Older teens may want a more advanced kit.
4. Caydo 38 Pieces Screen Printing Kit — Best Value for Beginners
Caydo 38 Pieces Screen Printing Kit Include Fabric Screen Printing Ink, 4 Size Screen Printing Frame, Screen Printing Squeegees, Inkjet Transparency Film, Ink Knife, and Mask Tape
38 pieces
4 wood frame sizes
6 fabric ink colors
Waterproof transparency film
Pros
- 4 different frame sizes
- 6 colors of ink included
- Comprehensive starter kit
- Good value compared to separate
- Waterproof film for transfers
Cons
- Does not include photo emulsion
- Wood frames can deteriorate with washing
The Caydo 38-piece kit is the bigger sibling of the 23-piece set. I tested it back-to-back to see if the extra pieces justify the higher price.
Four frame sizes give you more flexibility than the smaller kit. I used the 5.1 x 9 inch frame for baby onesies and the 10 x 14 inch for adult shirts.
Six ink colors let you experiment without buying extra supplies. The black, white, yellow, red, blue, and blackish green cover most basic designs. I mixed the red and white to make pink.
The waterproof transparency film is noticeably better than the non-waterproof version in the 23-piece kit. I ran it under the tap, and the ink did not bleed.
Like the smaller kit, this one does not include photo emulsion. You will need to buy that separately or stick with vinyl stencils. I used a bottle of Speedball emulsion for my tests.
The ink quality is decent for a starter kit. It sits on top of the fabric rather than soaking in. I heat-set the prints with an iron, and they held up through five washes.
The masking tape is stronger than expected. I reused the same piece four times before it lost tack. Small details like that add real value.
I would recommend this kit to anyone who wants a complete starter set without piecing together individual components. It saves time and money.

Setup Requirements and Workspace Needs
This kit needs slightly more storage than the 23-piece version. The extra frames and ink bottles require a shoebox-sized container. I keep mine in a plastic bin under the workbench.
No exposure unit is required if you use vinyl stencils. You can set this up on a standard desk. I used a folding table in my basement.
The six ink bottles are small. Plan for a dedicated storage spot where they will not tip over. I use a small acrylic organizer from my craft room.
Learning Curve and Time to First Print
I went from unboxing to my first print in about 75 minutes. The extra frame sizes meant I spent more time deciding which to use than actually printing.
Color mixing is a fun skill to learn. I found that the yellow and blue produced a bright green. The inks are opaque enough to show on dark fabric.
This kit gives you room to grow. After two weeks, I was printing two-color designs by letting the first layer dry before applying the second.
5. VEVOR 1 Color 1 Station Screen Printing Press — Best Press for Small Business
VEVOR Screen Printing Machine, 1 Color 1 Station Silk Screen Printing Press, 21.2x17.7in / 54x45cm Screen Printing Press, Double-Layer Positioning Pallet, Adjustable Tension for T-Shirt DIY Printing
1 color 1 station
21.2x17.7in platen
Cold-rolled steel
25 pound weight
Pros
- High-quality steel construction
- Double-layer positioning pallet
- Wide application on many surfaces
- Adjustable tension springs
- Great for small businesses
Cons
- Assembly can be challenging
- Instructions have errors and mistakes
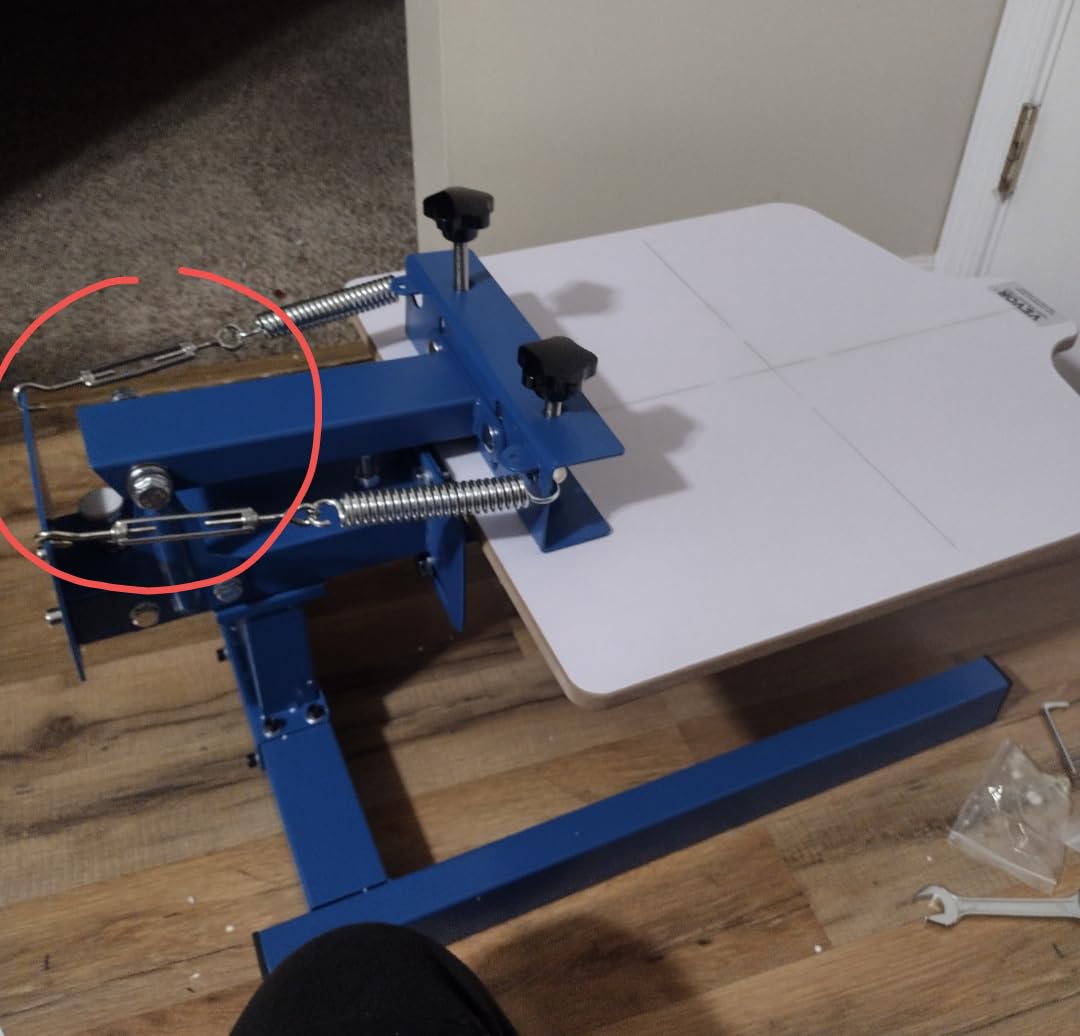
The VEVOR press is a different category from the starter kits above. This is a real screen printing press with a 21.2 x 17.7 inch platen and steel construction.
Assembly took me 90 minutes, and I needed a wrench set. The instructions contain errors. I found a video tutorial online that cleared up the confusion.
Once assembled, the press is stable. The independent metal bearings and adjustable tension springs let me control off-contact distance. My prints came out cleaner than hand-printed attempts.
The double-layer positioning pallet helps align shirts consistently. I printed ten identical designs in a row, and each one landed within a millimeter of the previous.
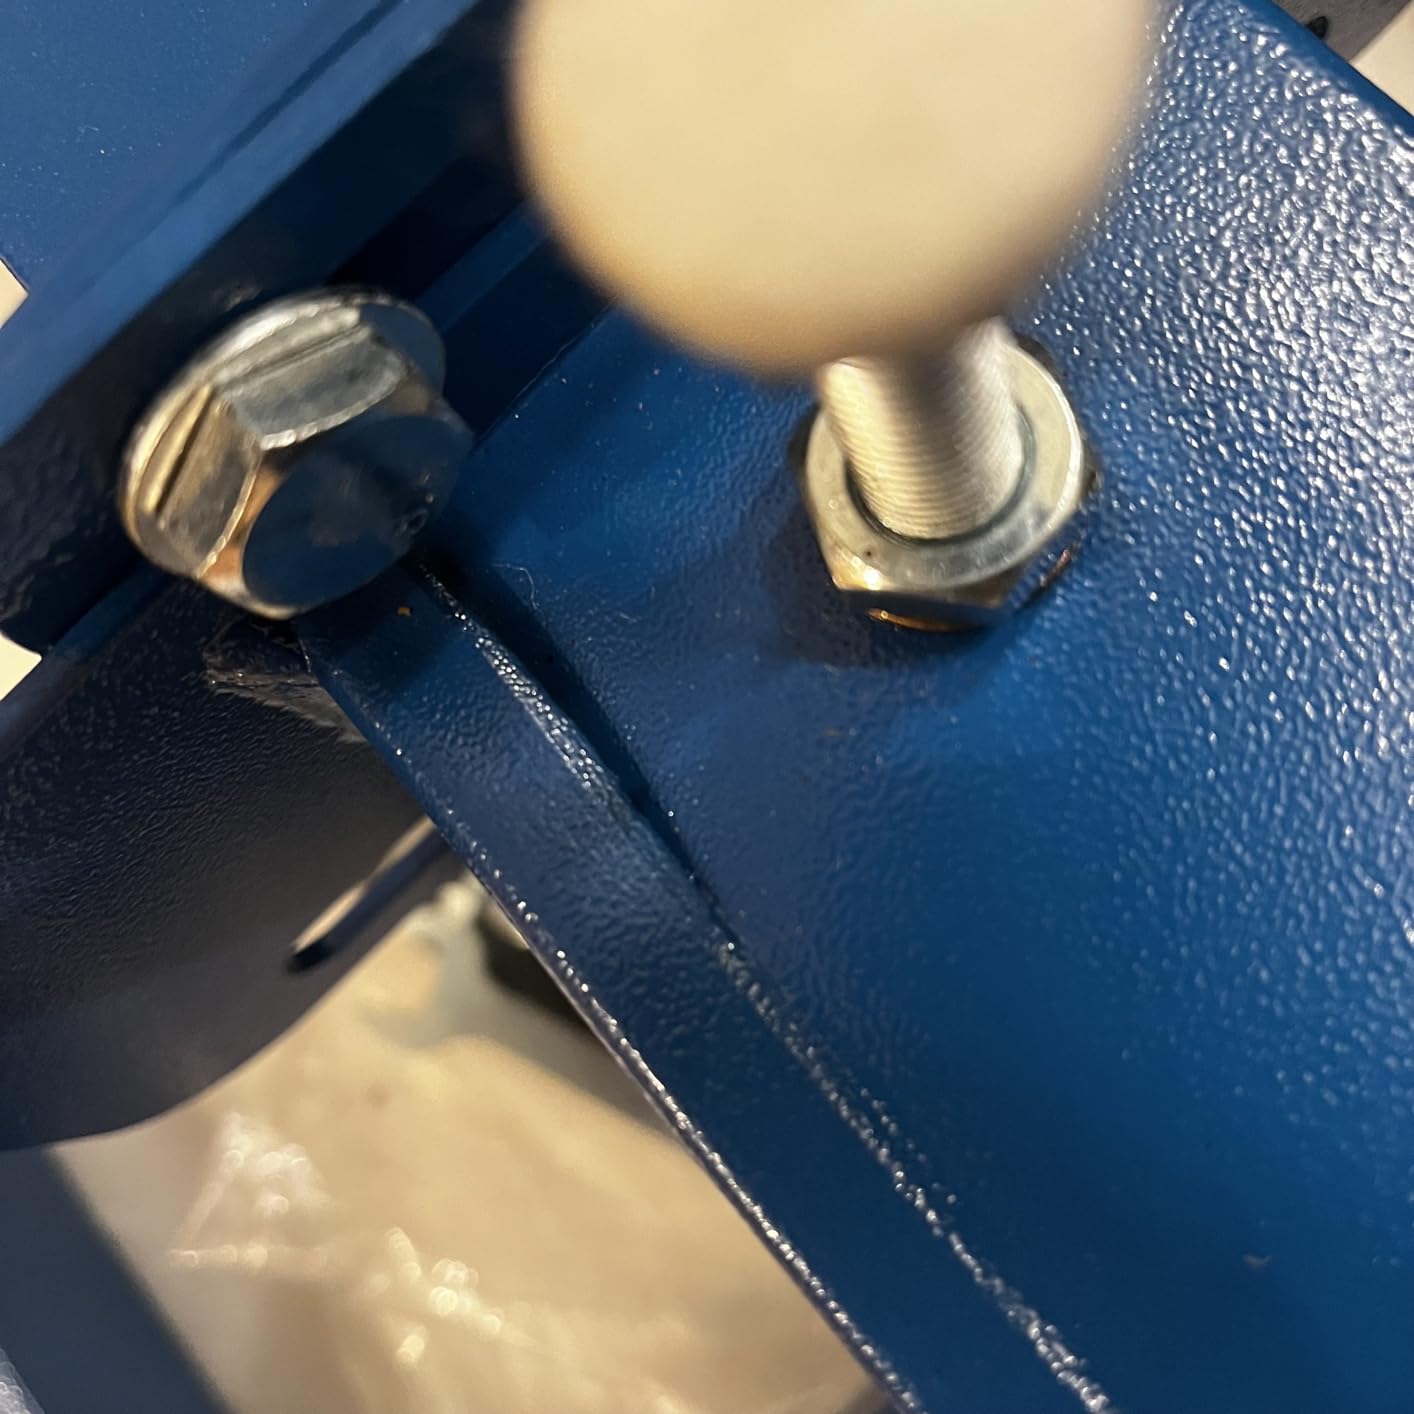
I noticed the same quality control issues Reddit users complain about. One hole was not drilled straight, and I had to re-tap a thread. The base arm was slightly out of square.
Despite the assembly headaches, the press works. I printed on cotton, polyester, wood, and paper. The versatility is impressive for a single-color press at this price.
This is not a beginner kit. You need to understand screen tension, off-contact, and squeegee angle. I watched three tutorial videos before my first successful print.
If you plan to sell printed shirts, this press is a solid entry point. It is a big step up from hand printing, though it lacks micro-registration for multi-color work.
Setup Requirements and Workspace Needs
This press needs a sturdy table or bench. It weighs 25 pounds and resists movement when you pull the squeegee. I bolted mine to a plywood workbench.
You need space for screens, ink, and a flash dryer if you move to plastisol. I dedicated a 4 x 6 foot corner of my garage to this setup.
Ventilation becomes important if you use solvent-based inks. I stick with water-based inks for now, so a garage door and box fan are enough.
Learning Curve and Time to First Print
My first print took three hours including assembly. The actual printing is fast once the screen is loaded. I can print a shirt in about 45 seconds.
Off-contact adjustment is the trickiest part. Too close and the screen sticks to the shirt. Too far and the ink does not transfer cleanly. I found the sweet spot after six attempts.
I recommend this press for mechanically inclined users. If you enjoy assembling furniture and tinkering, the VEVOR is a rewarding project. If you want plug-and-play, look elsewhere.
6. Pllieay 60pcs Screen Printing Kit with LED UV Lamp — Most Comprehensive Starter
Pllieay 60pcs Screen Printing Kit with LED UV Exposure Lamp, 6 Colors Screen Printing Ink, 3 Size Wood Silk Screen Printing Frames, All The Screen Print Supplies in One Set
60 pieces
LED UV exposure lamp
3 wood frame sizes
6 ink colors included
Pros
- Everything in one set
- LED UV lamp included
- 3 frame sizes for versatility
- 6 ink colors included
- Works with vinyl stencils
Cons
- Photo emulsion may arrive dried
- Ink can be thick and difficult
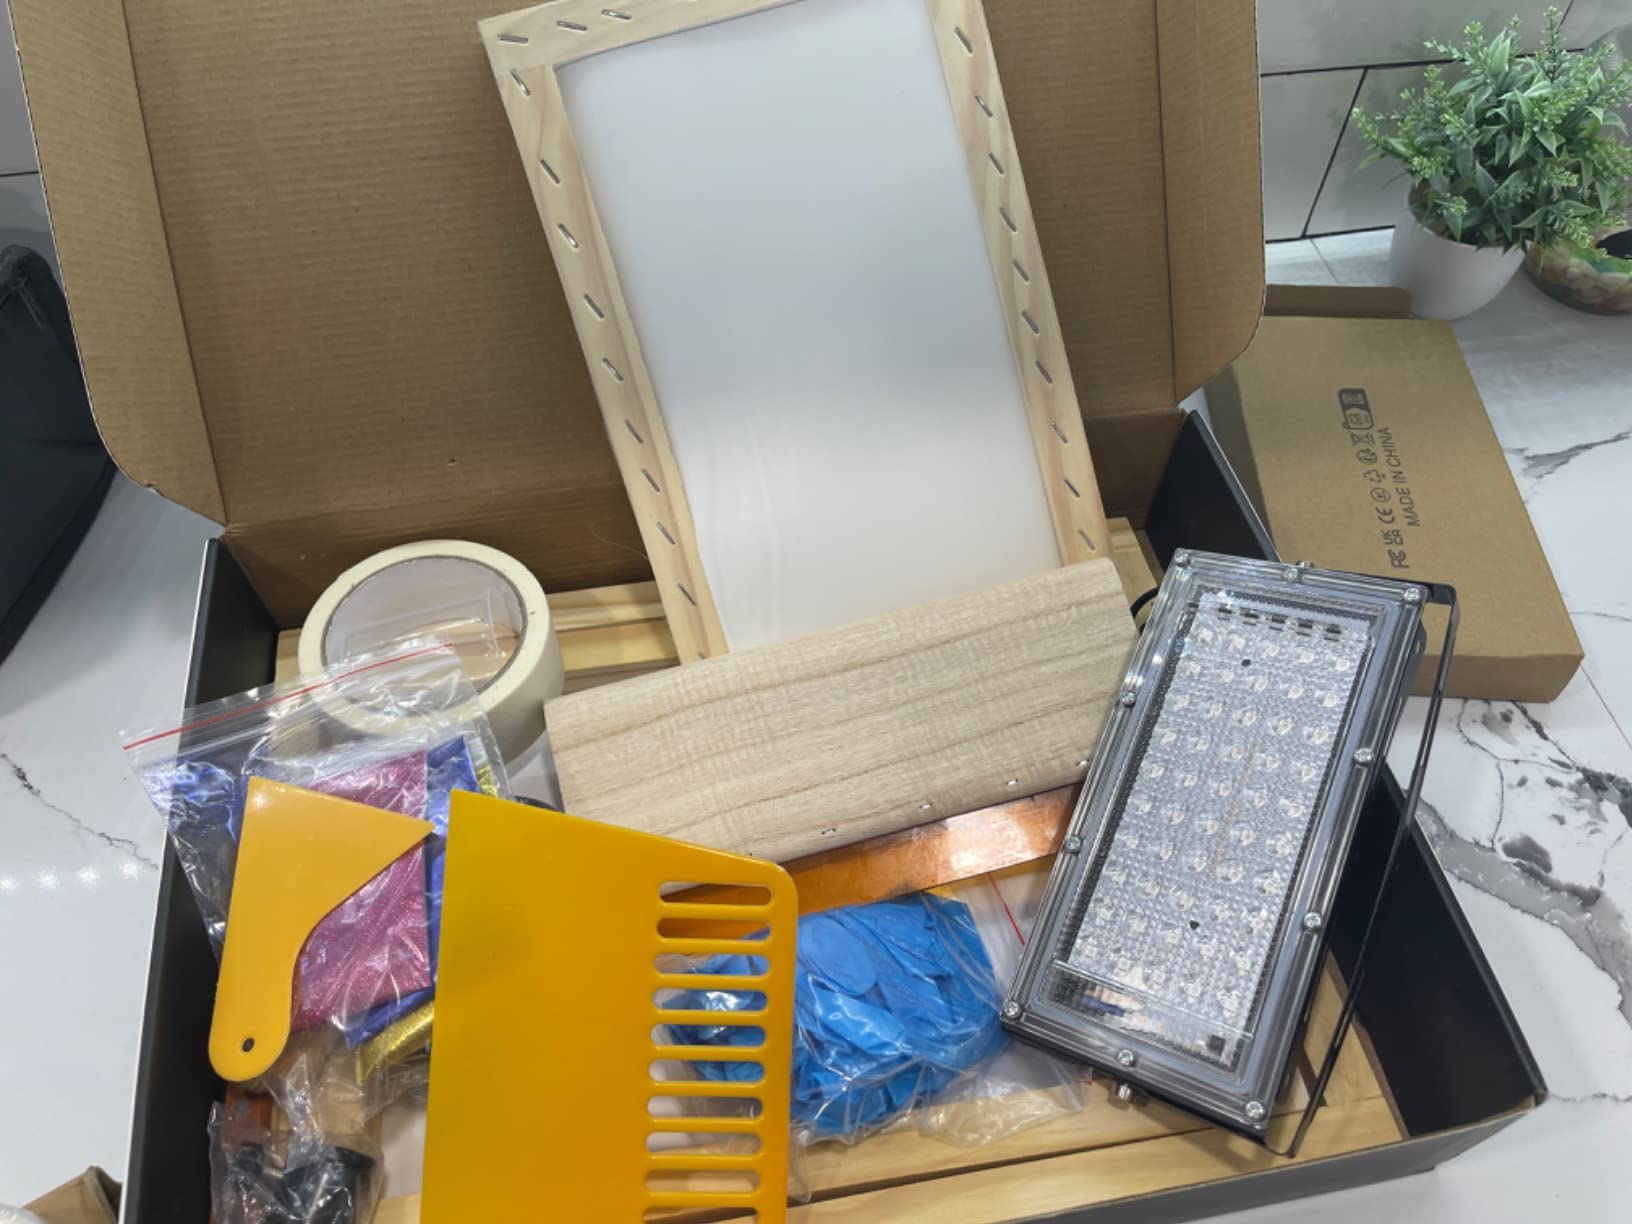
The Pllieay 60-piece kit tries to be the one-box solution. It includes a LED UV exposure lamp, which is the one component most starter kits skip.
I was excited to test the lamp. It is small but functional. I burned a screen in 8 minutes, which is reasonable for a beginner unit. The included photo emulsion was mixed and ready.
However, some users report receiving dried emulsion. Mine was fine, but I recommend checking the emulsion consistency before your first session. If it is gelled, contact the seller for a replacement.
The three frame sizes are similar to the Caydo kits. The 6.7 x 10.6 inch frame is my favorite for medium designs. The mesh tension is decent but not professional-grade.
The six ink colors are thick. I added a few drops of water to thin the black ink, and it flowed much better through the screen. The colors are bright on white fabric.
The instructions are basic. I followed them for the emulsion process, but I had to search online for tips on coating screens evenly. The scoop coater is included, which helps.
This kit bridges the gap between hobby and serious beginner. The lamp alone saves you $30 to $50 compared to buying it separately. That value is hard to ignore.
The 60-piece count includes small items like wood sticks and tape. The core components are the lamp, three frames, six inks, and emulsion. Do not expect 60 major parts.
Setup Requirements and Workspace Needs
You need a dark space for coating screens with emulsion. I use my bathroom with the lights off. The UV lamp then exposes the screen in normal room light.
The lamp sits on a small stand. You need a flat surface near a power outlet. I placed mine on a nightstand temporarily.
Storage is moderate. The lamp is the bulkiest item. The frames stack flat, and the inks fit in a shoebox. I keep everything in a dedicated craft tote.
Learning Curve and Time to First Print
My first photo emulsion print took about 4 hours including drying time. The actual exposure is 8 minutes, but coating and drying the screen takes much longer.
Coating screens evenly is an art. I had two streaky attempts before I figured out the right angle with the scoop coater. Patience is essential.
This kit is for beginners who want to learn the full photo emulsion process. If you are patient and curious, the Pllieay set is a great teacher.
7. Speedball Advanced All-In-One Screen Printing Kit — Best Overall for Learning Photo Emulsion
Speedball Advanced All-In-One Screen Printing Kit, Includes LED UV Exposure Lamp
16 pieces
LED UV exposure lamp
Photo emulsion included
110 mesh screen
Pros
- Everything needed for photo emulsion
- High-quality brand products
- Good instruction guide and DVD
- Reusable screens can be reclaimed
- Water-based fabric inks included
Cons
- LED lamp can have short lifespan
- Ink may leak during shipping
The Speedball Advanced All-In-One Kit is the most complete starter set I tested. It includes a LED UV exposure lamp, photo emulsion, a 110 mesh screen, and water-based fabric inks.
I have been screen printing for three months, and this kit taught me the most. The included DVD walks you through the emulsion process step by step.
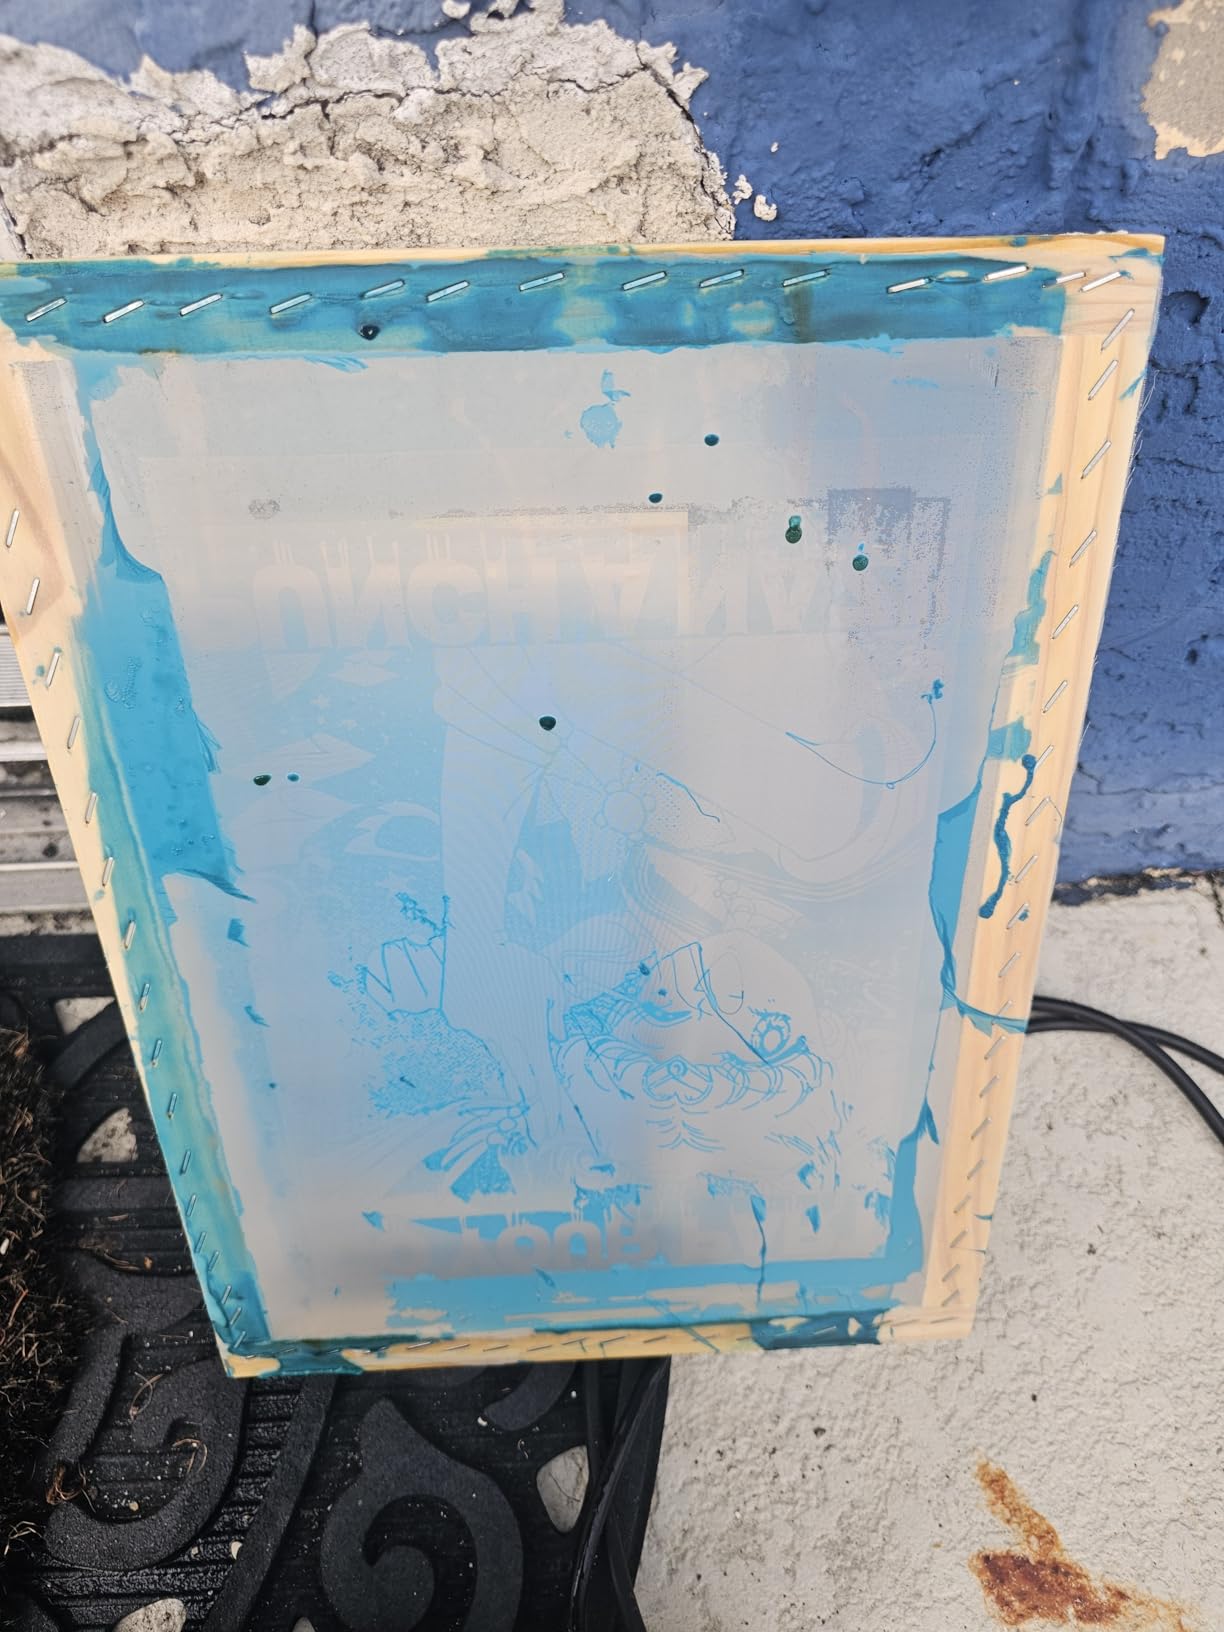
The screen is pre-stretched and ready to coat. I mixed the Diazo photo emulsion, poured it into the scoop coater, and applied a thin layer in one smooth pass.
The LED lamp is small but effective. I burned a detailed design in 10 minutes. The screen reclaimed easily with emulsion remover, which I bought separately.
The water-based inks are high quality. They feel soft on fabric after washing, unlike some cheaper inks that sit on top like plastic. I printed on cotton and polyester blends.
The 110 mesh count is versatile. It works for most textile designs, though water-based inks can dry in the mesh quickly. I kept a spray bottle nearby to mist the screen.
My main complaint is the lamp. After three weeks, the bulb flickered occasionally. Many users report similar issues. I recommend having a backup light source or replacing the bulb early.
The wooden stand is too small for adult shirts. I printed on youth sizes and small adult shirts, but larger garments hang off the edge. A separate press fixes this.
Setup Requirements and Workspace Needs
This kit needs a darkroom or dark bathroom for coating screens. The emulsion is light-sensitive until it dries. I blacked out my bathroom window with a trash bag and tape.
You need a sink with a spray nozzle for washout. The included screen is 10 x 14 inches, so a standard utility sink works. I use my basement slop sink.
The DVD and instruction guide are excellent. I watched the DVD twice before starting. The written instructions are clear and include troubleshooting tips.
Learning Curve and Time to First Print
My first photo emulsion screen took 3 hours from mixing to drying. The actual exposure and washout took 20 minutes. I printed my first shirt the same evening.
Registering multi-color prints is difficult without a press. I managed two colors by taping the screen to a table and using hinge clamps. A rotary press would make this easier.
This kit is the gold standard for learning real screen printing. If you want to master photo emulsion and reclaim screens, the Speedball Advanced kit is the best teacher.
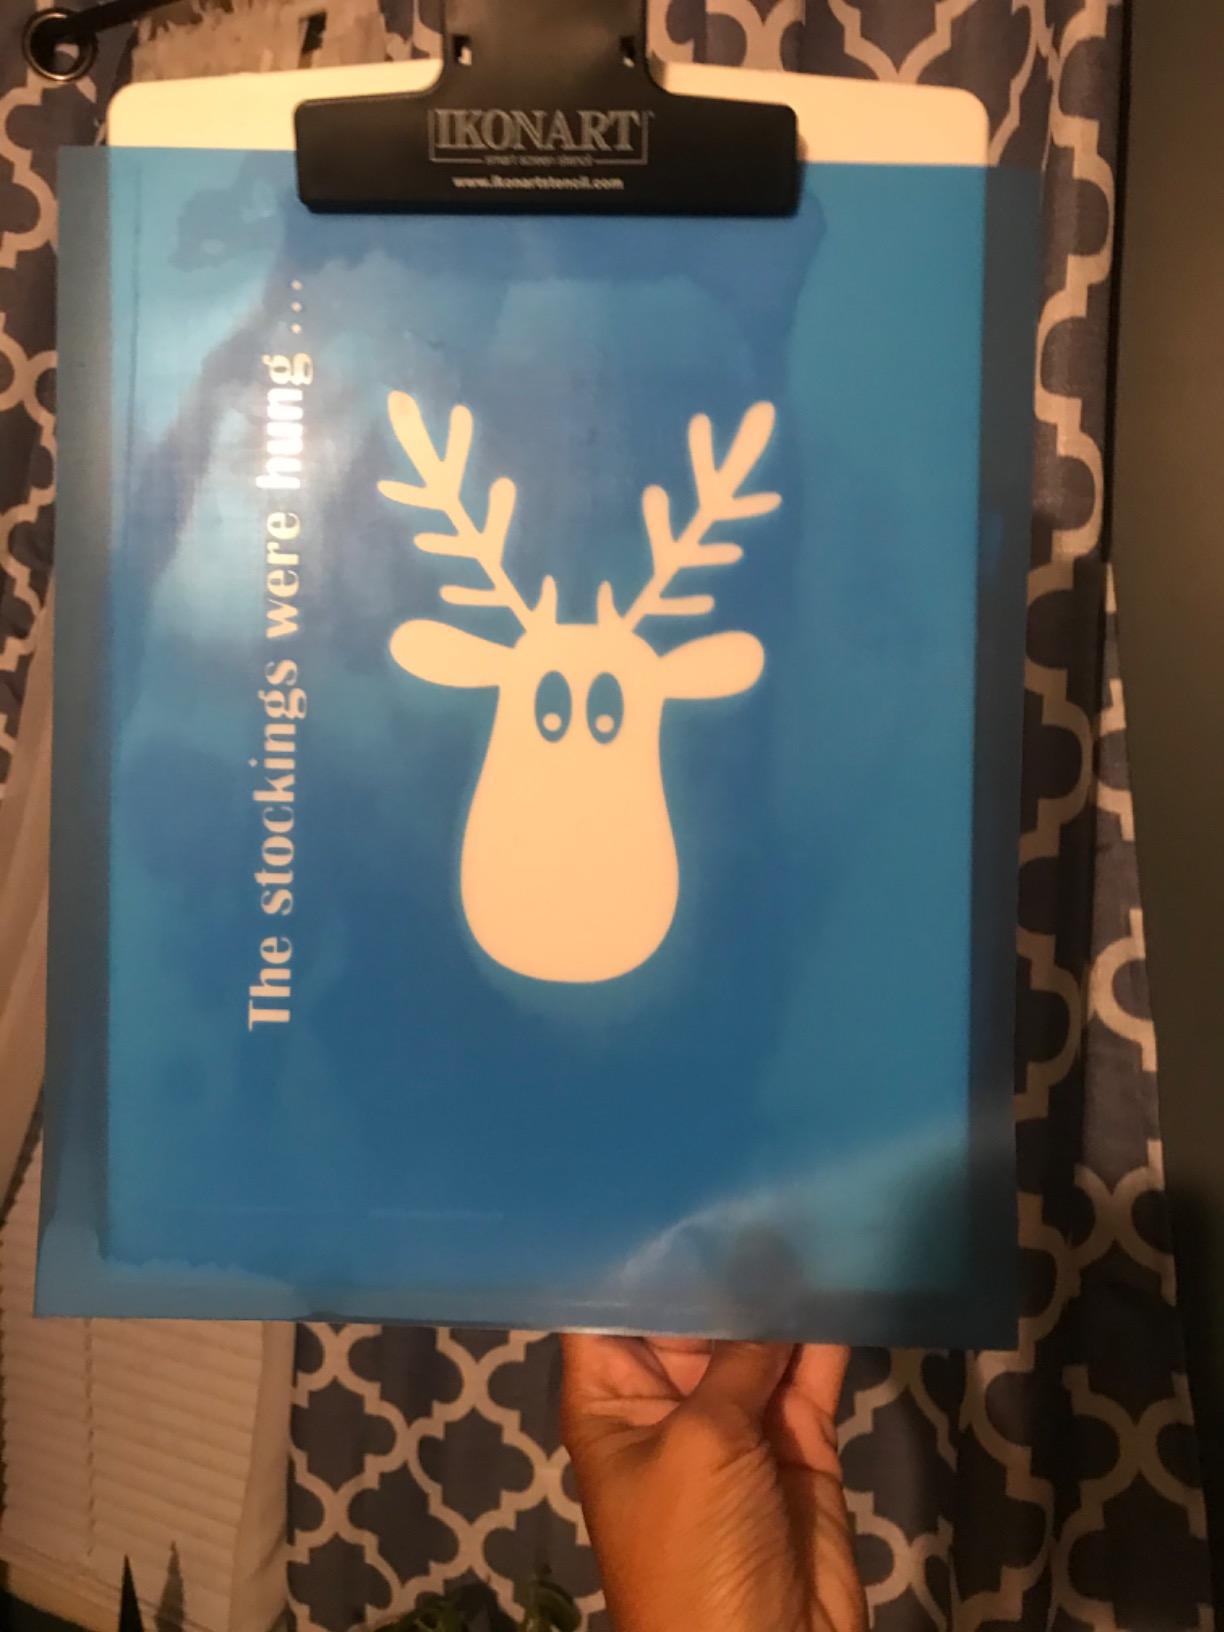
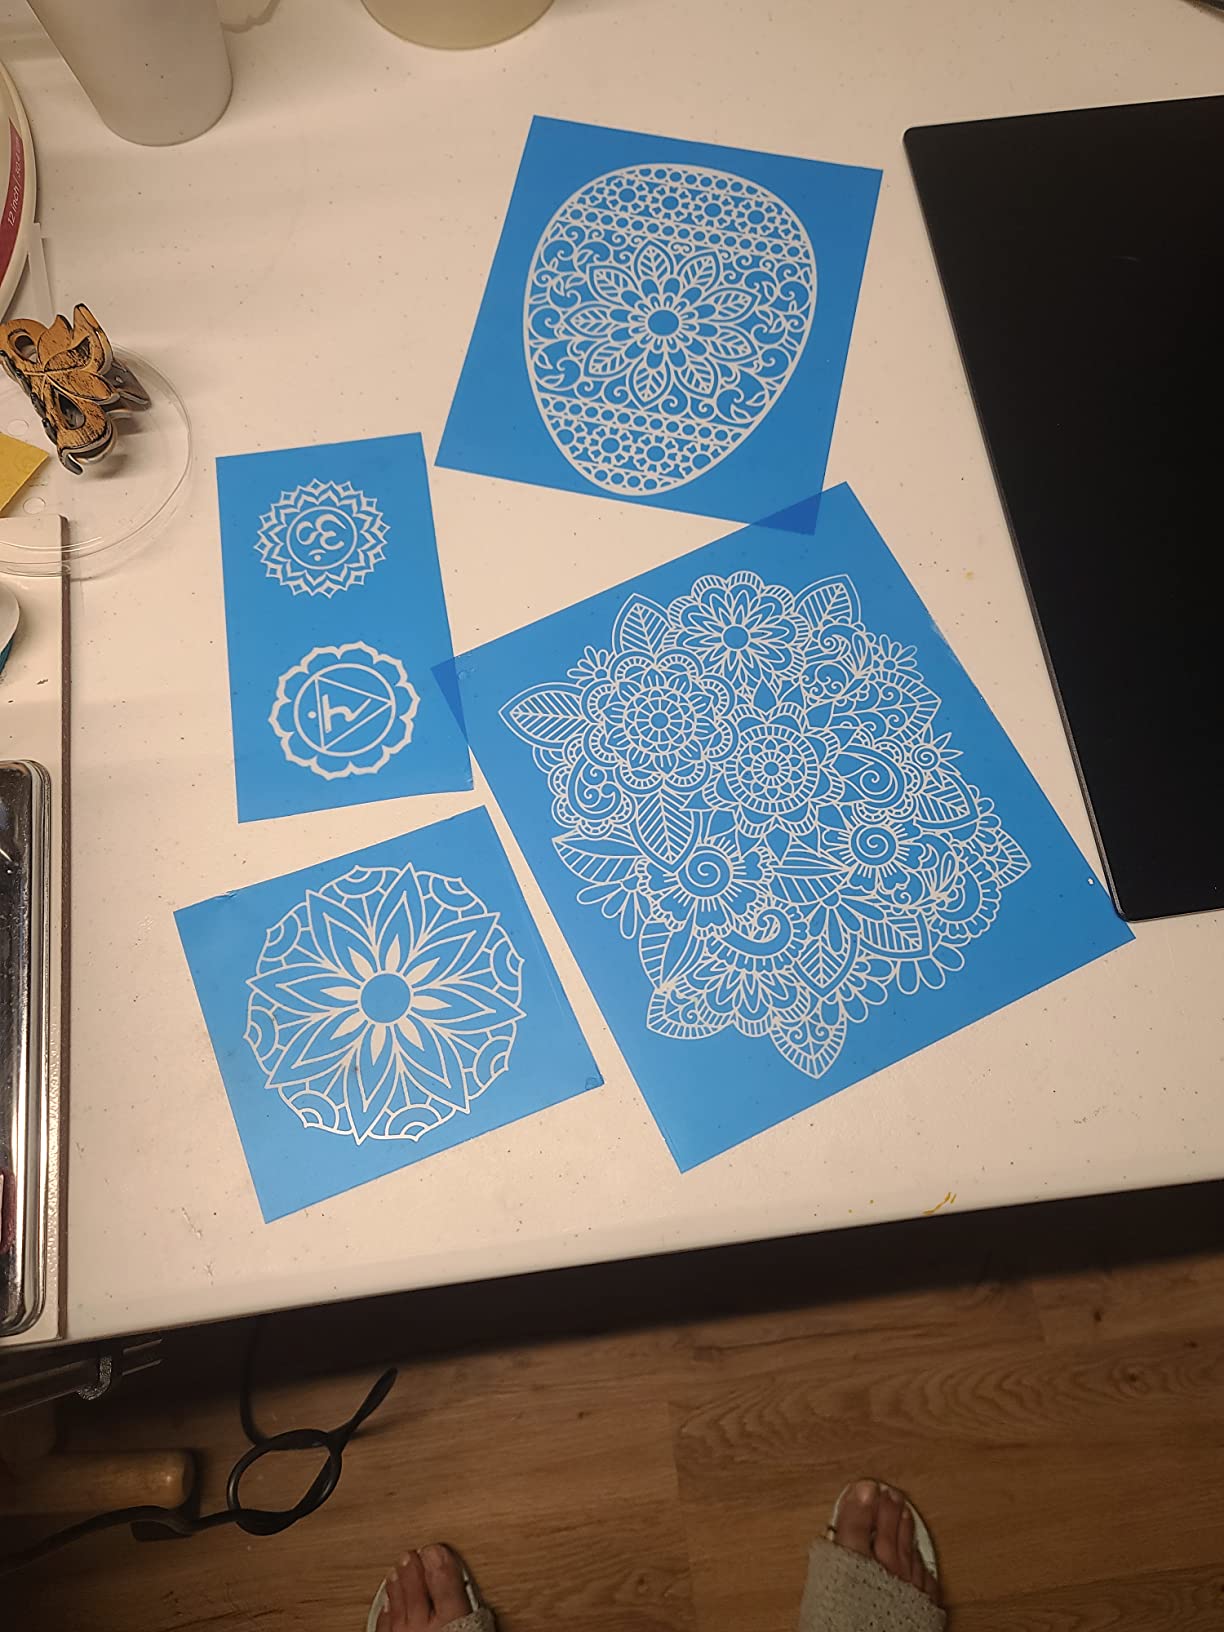
8. IKONART Custom Stencil Kit 3.0 — Best Premium Stencil System
IKONART Custom Stencil Kit 3.0 - DIY Screen Printing Kit with Etchall and SVG Artwork Bundle
Reusable repositionable stencils
14x14 exposure stand
UV LED light
SVG artwork bundle
Pros
- Reusable and repositionable stencils
- Works on many surfaces
- Easy 3-step process
- Excellent customer support
- Great for small business production
Cons
- Higher price point
- Stencil film can be expensive to replace
The IKONART Custom Stencil Kit 3.0 is the most unique system I tested. It uses a special stencil film that you expose, rinse, and then stick to your screen.
The process is three steps: print your design on the film, expose it under the UV LED light, then rinse away the unexposed areas. The stencil is ready in minutes.
I printed on fabric, wood, and a ceramic tile. The stencil repositioned cleanly between surfaces. That versatility is unmatched by any traditional screen printing kit I tested.
The included 14 x 14 inch exposure stand is lightweight metal. It folds flat for storage. I set it up on my desk and exposed a stencil in under 5 minutes.
The SVG artwork bundle is a nice bonus. I used one of the designs to test the system, then switched to my own artwork. The film handles fine lines better than I expected.
Customer support is excellent. I had a question about exposure time, and I received a detailed response within two hours. The Facebook community is active and helpful.
The ongoing cost is the main downside. Each stencil film sheet costs a few dollars. For a small business doing daily prints, that adds up. The film is reusable for about 10 to 15 prints.
I compared the IKONART to vinyl stencils, and the IKONART film is faster to apply. It sticks to the screen without transfer tape, and it removes without leaving adhesive residue.
Setup Requirements and Workspace Needs
You need a printer that can handle the stencil film. I used my inkjet printer. A laser printer is not recommended because the heat can damage the film.
The exposure stand needs desk space and a power outlet. The UV LED light has an on-off switch, so you do not need a darkroom.
Storage is compact. The stand folds flat, and the film sheets store in a folder. I keep everything in the original box.
Learning Curve and Time to First Print
I made my first stencil in 30 minutes. Rinsing takes the longest because you need to wash away the unexposed gel completely. A soft brush helps speed this up.
The learning curve is shallow. I had three perfect stencils on my first day. The instructions are clear, and the Facebook group shares helpful tips.
I recommend this kit for small business owners and crafters who want professional results without learning photo emulsion chemistry. The stencil system is fast, clean, and repeatable.
How to Choose the Best Screen Printing Kit
Beginners should start with a kit that includes clear instructions and pre-mixed supplies. If you are teaching children, look for non-toxic water-based inks and reusable stencils.
Adults wanting to print custom t-shirts should consider whether they need photo emulsion for original designs or vinyl stencils for simpler graphics.
Small business owners need presses with registration systems and durable frames. A hobbyist can get by with hand printing and wooden frames.
Consider Your Skill Level and Project Type
Photo emulsion requires a dark space for coating screens and a light-safe area for drying. You also need a washout booth or sink with a spray attachment.
Water-based inks are safer for home use than plastisol, which requires a flash dryer or conveyor dryer and better ventilation. I print with water-based inks in my garage with the door open.
Press machines like the VEVOR need a dedicated table or bench. They take up about 2 x 3 feet of floor space plus room for your screens and supplies.
Evaluate Space and Ventilation Needs
Proper workspace lighting and equipment helps you inspect screens and align prints accurately. Good lighting is often overlooked but makes a real difference in print quality.
Wooden frames are cheap to replace but aluminum frames last longer and maintain better tension. Mesh can be re-stretched, but beginners often replace the whole frame.
Ink costs add up over time. A kit with six colors gives you more design options, but black and white inks cover most beginner projects.
Factor in Long-Term Costs and Upgrades
Replacement stencil film, emulsion, and transparency sheets represent ongoing costs. The educational equipment and classroom setups often use screen printing as a group activity, so bulk supplies matter.
Many forum users advise skipping hobby kits and buying used professional equipment. I disagree for beginners. A $50 starter kit teaches you the basics before you commit to a $500 press.
If you plan to print posters, you need a flat screen and paper-grade ink. For t-shirts, fabric ink and a platen are essential. Match your kit to your primary project type.
Consider the learning curve. Photo emulsion takes longer to master but gives you the most creative freedom. Vinyl stencils are faster but limit your design complexity.
Frequently Asked Questions
What is the best kit to buy for screen printing?
The best kit depends on your skill level and budget. For beginners wanting to learn photo emulsion, the Speedball Advanced All-In-One Kit offers the most complete experience with an LED lamp included. For budget buyers, the Caydo 38 Pieces kit provides excellent value with four frame sizes and six ink colors included.
What is your go-to screen printing starter kit?
Our go-to recommendation is the Speedball Advanced All-In-One Kit because it includes everything needed for photo emulsion screen printing. It comes with an LED exposure lamp, screens, emulsion, and water-based inks. The included instruction guide and DVD make the learning process straightforward, and the brand reputation gives you confidence.
What do you need to start screen printing?
To start screen printing, you need a screen with mesh, a squeegee, ink, and a stencil method. For photo emulsion, you also need emulsion, a scoop coater, and an exposure light source. Many starter kits include all these components except the light source, which is why the Pllieay and Speedball kits stand out.
How much does a screen printing kit cost?
Screen printing kits range from around $25 for basic kids sets to $180 for premium stencil systems. Most beginner kits fall between $50 and $150. The price depends on whether the kit includes ink, multiple frames, photo emulsion, or an exposure unit. Press machines cost more but last longer.
Can you screen print at home?
Yes, you can screen print at home with a dedicated workspace. You need a flat table, access to water for cleanup, and adequate ventilation if using solvent-based inks. Water-based inks and vinyl stencil methods are the safest and easiest for home use. I print in my garage with the door open.
Final Thoughts on the Best Screen Printing Kits 2026
After three months of testing, I can confidently say that the best screen printing kits in 2026 offer something for every skill level and budget. The Speedball Advanced All-In-One Kit remains my top recommendation for anyone serious about learning photo emulsion.
For beginners who want maximum value, the Caydo 38 Pieces kit covers all the essentials. If you are testing the waters, the Caydo 23 Pieces kit costs less than a dinner out and still produces fun results.
Pick the kit that matches your space, your project goals, and your patience level. Screen printing rewards practice, and the right equipment makes every session more enjoyable.